Wondering how to crochet for beginners without getting lost? Start with a hook, smooth medium-weight yarn and scissors, then practice a slip knot, a chain and single crochet rows. Your first wobbly swatch is normal.
This guide is part of our series on knitting and crochet for beginners, where each craft gets its own starting point.
| Item | Value |
|---|---|
| Basic materials | Crochet hook, yarn and scissors |
| Yarn tail for a slip knot | About 6 inches |
| Practice swatch starting chain | Chain 17 |
| Stitches in each swatch row | 16 stitches |
| Swatch length | 10 rows |
These figures come from Bob Vila’s beginner crochet guide and LoveCrafts’ how-to-crochet guide. They can change, so check the sources before you rely on them.
Tools and materials for your first project
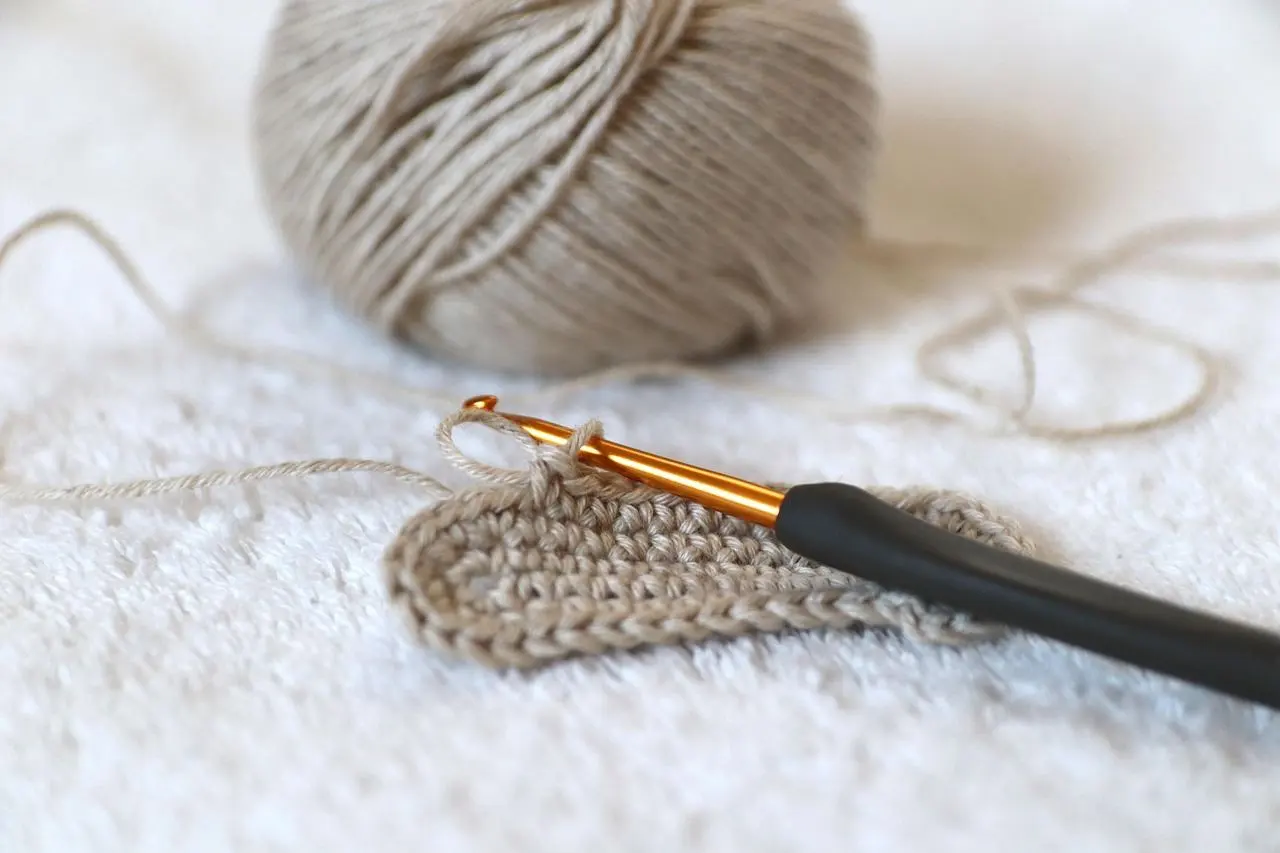
Crochet needs very little equipment. The basic materials are a crochet hook, yarn and scissors, and Bob Vila’s beginner guide adds that a yarn needle is useful for sewing pieces together and weaving in loose ends.
Three choices matter most when you shop:
- Hook size. Check the yarn label, because most labels recommend a hook size for that yarn. Red Ted Art calls 3mm – 5mm a good usual range for a beginner.
- Yarn. New crocheters often find medium-weight yarn easiest, and light colours make the stitches easier to see, according to Bob Vila. Very fine, fluffy or slippery yarn is better kept for later.
- Hook material. Plastic, metal, resin and wood hooks all exist, and the same guide says the choice comes down to personal preference.
If the thickness names on a label confuse you, read our primer on yarn weights explained before you buy.
How to hold the hook and yarn
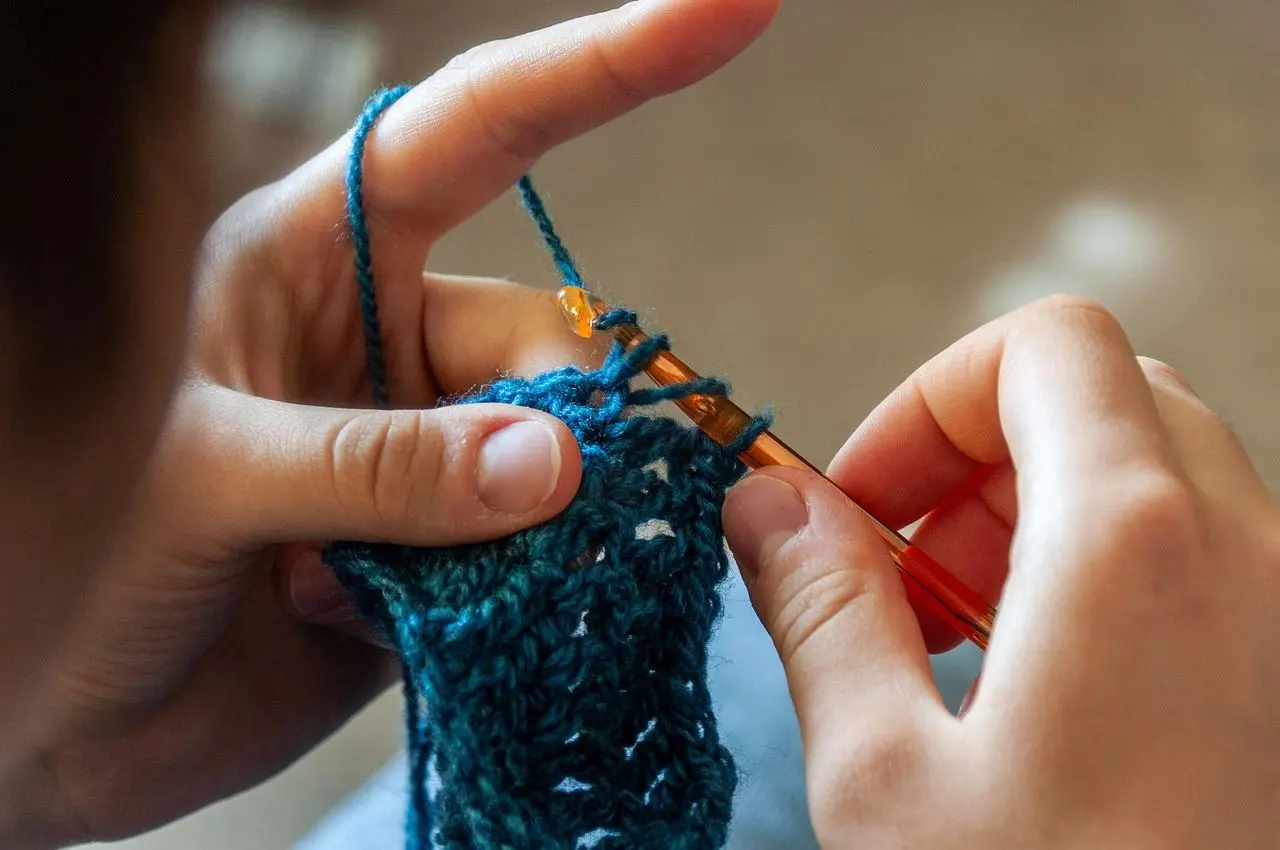
Most crocheters use the dominant hand for the hook and the other hand for the yarn, as Bob Vila’s guide describes. It also names two common grips: the pencil grip and the knife grip.
LoveCrafts says the pencil grip is often the comfiest and most popular. Hold the hook between thumb and forefinger as you would a pencil, with the hook end facing you.
Tension, meaning how the yarn runs through your fingers, is the part many people find hardest. Red Ted Art says it is worth taking your time over it and not getting frustrated, and left-handed crocheters simply swap the hands.
Making a slip knot and your first chain
A slip knot puts the first loop on your hook. Bob Vila’s guide starts about 6 inches in from the end of the yarn, then follows these steps:
- Lay the tail end of the yarn over the working yarn to make a loop, and hold it in place with your index finger and thumb.
- Insert the hook through the loop from behind.
- Catch the working yarn with the hook and pull it through the loop.
- Tug the tail and the working yarn gently until the loop sits snug on the hook, neither too tight nor too loose.
Next comes the chain: wrap the yarn over the hook, pull it through the loop on the hook, and repeat. Nicki’s Homemade Crafts advises that you keep practicing until the chains are all about the same size.
Do not rush this stage. The Red Ted Art guide says the tension, slip knot and chain are what you practice over and over until you can progress.
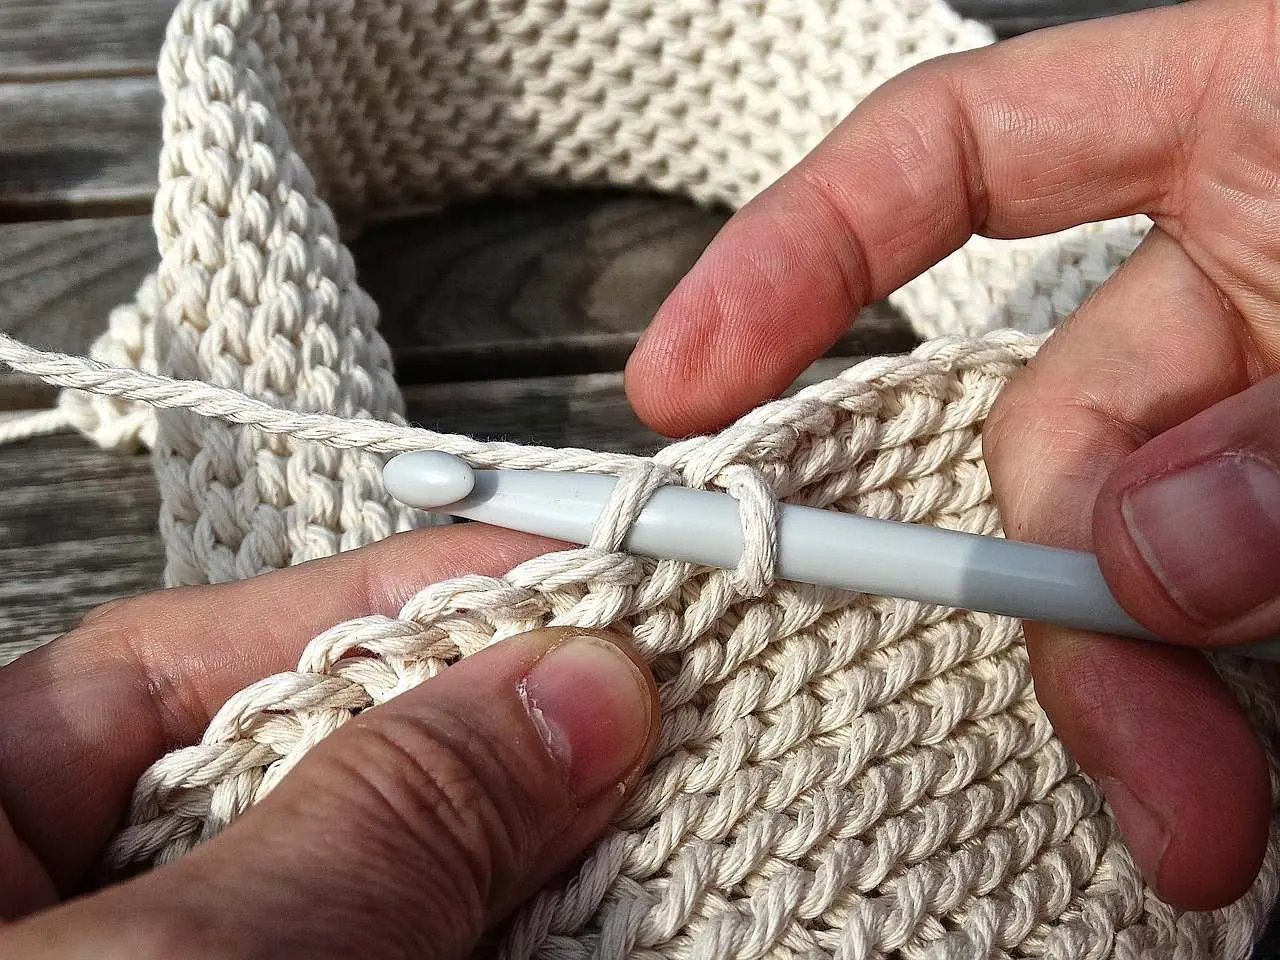
Your first swatch: single crochet rows
A small practice square teaches more than an endless chain. The steps below follow LoveCrafts’ practice swatch, whose tutorial video uses US terminology for the stitch names.
- Make a slip knot, then chain 17 to form your foundation chain.
- Work a single crochet into the second chain from your hook, then one into each remaining chain. That gives you 16 stitches.
- Chain 1 and turn your work.
- Work a single crochet into each of the 16 stitches across, including the first and last stitch.
- Repeat until you have 10 rows.
The turning chain does not count as a stitch, so every row should still hold 16 stitches. LoveCrafts suggests counting every row for the first week, after which your hands will notice a mistake before you do.
To finish, cut the yarn and leave a tail long enough to sew in. Then thread the tail through the last loop and pull it tight, which is called fastening off.
Why does my work look wrong?
Most first-swatch problems have simple causes. These are the ones the sources point to:
- Edges narrowing. LoveCrafts says that if the square gets narrower as it grows, you are probably missing the turning chain at the start of each row.
- Curling edges. The same guide says a curl at the bottom edge usually means the hook is too small for the yarn, so try a larger hook.
- Stiff, rope-like chains. According to LoveCrafts, early chains often come out like rope because people grip the yarn too tightly.
- Slippery yarn. Very slippery yarn makes every step harder, so switch to a smooth, medium-weight yarn.
If you are curious about needles instead of a hook, our guide on how to knit for beginners covers the basics of that craft.
Frequently asked questions
Do US and UK crochet terms match?
Show answer
No. A pattern written in UK terms calls the stitch that US patterns name single crochet a double crochet, as LoveCrafts explains. Check which system a pattern uses before you cast on.
Can left-handed people follow the same steps?
Show answer
Yes, with the hands reversed. Red Ted Art says left-handed crocheters hold the hook in the left hand and the yarn in the right.
Do I need stitch markers?
Show answer
They are optional. Bob Vila’s guide calls them not a necessity but a big help, and says to buy removable markers rather than the closed kind made for knitting.
Which stitches come after single crochet?
Show answer
Double crochet is a natural next step, since LoveCrafts describes it as taller than single crochet and essential. Nicki’s Homemade Crafts also teaches half double, treble and double treble stitches.