Learning how to knit for beginners feels daunting, but you only need yarn, a pair of needles and about an hour of quiet. Master the slip knot, cast on, knit stitch and cast off, and you can make a real fabric.
For a wider look at both crafts, see our guide to knitting and crochet for beginners.
| Item | Value |
|---|---|
| Starter needle size | US size 6 to 8 (or 4 to 5 mm) |
| DK weight yarn pairs with | 4mm needles |
| Aran weight yarn pairs with | 5mm needles |
| Time to learn the basics | About an hour |
| Standard yarn weights | Eight, from lace to jumbo |
These figures come from Bob Vila’s beginner knitting guide and Gathered’s knitting guide. Guidance like this can change, so check the sources before you rely on it.
What you need to start knitting
Knitting is a method of creating fabric by interlocking loops of yarn using needles, as Lion Brand’s beginner page puts it. That page adds that you can get by with just yarn and knitting needles, with extra tools as optional helpers.
Choosing yarn
Start with medium-weight yarn. Lion Brand says beginners may find it easier to start with medium weight in a light color, and Bob Vila calls medium weight generally ideal. Bob Vila also counts eight standard yarn weights, running from lace up to jumbo.
A few more habits make a first ball easier to handle:
- Choose a smooth yarn, because delicate, fluffy or slippery yarn is harder to work with, per Bob Vila.
- Go for a lighter color, which makes each individual stitch easier to see.
- Keep it inexpensive: Sheep and Stitch suggests cheap acrylic so mistakes do not feel like such a big deal.
Choosing needles
For size, Bob Vila suggests straight needles in US size 6 to 8 (or 4 to 5 mm) to start. Gathered pairs DK weight yarn with 4mm needles, and aran weight yarn with 5mm needles. When in doubt, Sheep and Stitch advises following the yarn label while you are first starting out.
Wood or bamboo needles are the most comfortable choice for many beginners, because they grip yarn better than metal or plastic, according to Bob Vila. Lion Brand notes that straight needles are typically used for flat knitting, such as scarves and blankets.
How to hold your needles and yarn
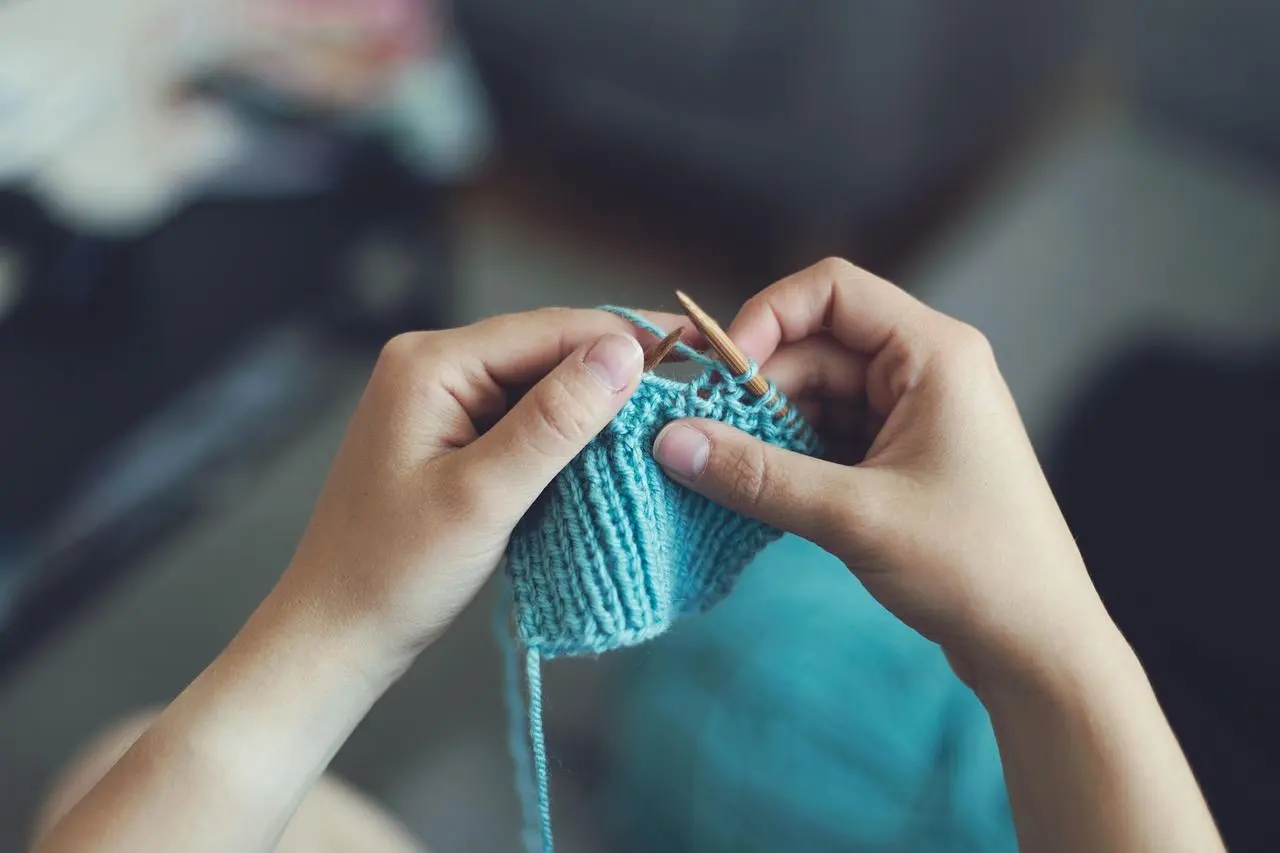
Your grip is a matter of comfort. Bob Vila names two common holds, the pencil grip and the knife grip, and says knitters choose based on personal comfort. For the pencil hold, Gathered has you hold the left needle about 5cm from the point, as if you were about to sharpen a pencil.
The yarn can simply rest in your palm at first. Gathered says this style of throwing the yarn is fine when you start out, although it may lead to tight and uneven tension. Once you feel steadier, Bob Vila says weaving the working yarn through the fingers of your right hand can help control it.
Most step-by-step guides assume a right-handed knitter. Gathered says left-handed knitters can reverse its instructions, switching rights for lefts.
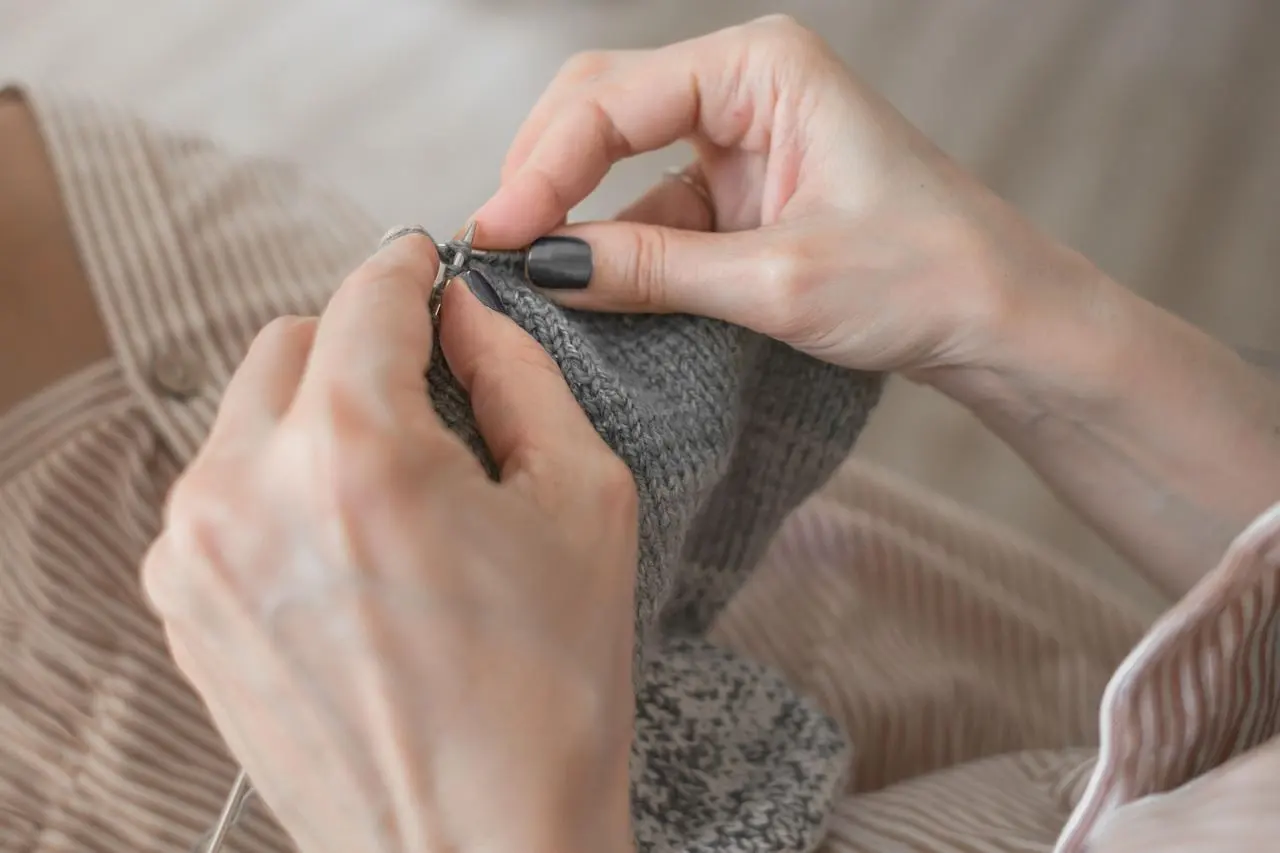
How to knit your first row, step by step
Sheep and Stitch says knitting boils down to four essential skills: the slip knot, cast on, knit stitch and cast off. Learn them in that order and you can finish a simple piece.
Slip knot and cast on
The slip knot is the first stitch you make on your needle, per Sheep and Stitch. LoveCrafts starts it by leaving a long tail and winding the yarn around your fingers, then pulling the working yarn through the loop and tightening it.
The knitted cast on is generally considered the best method for a beginner, says Wool Warehouse, because it uses the same technique as the knit stitch. If you later try the long-tail method, the same guide suggests allowing about an inch of tail for every stitch you want to create.
The knit stitch
Keep the working yarn at the back of the work while you knit, as Wool Warehouse instructs. Then follow these steps from LoveCrafts:
- Insert the right needle underneath the first stitch on the left needle.
- Bring the working yarn around the right needle.
- Slide the right needle back, bringing the yarn with it.
- Slide the old stitch off the left needle, leaving one new stitch on your right.
Repeat until you reach the end of the row. To start the next row, turn your work by moving the full needle back into your left hand, as LoveCrafts describes.
Casting off
Casting off is a little easier than casting on, because Wool Warehouse says you will usually use only the standard method. You work two stitches, lift the first over the second, then repeat until one stitch is left on the right needle.
Tidy up by weaving in loose ends. Bob Vila explains that a darning needle, also called a tapestry or yarn needle, is made to fit yarn through the eye.
Knit and purl: the stitches behind every fabric
LoveCrafts notes that knitting essentially involves just two stitches, the knit and the purl. Even intricate cabled jumpers and delicate lace shawls are combinations of them.
The purl stitch is the knit stitch worked from the other side. Wool Warehouse has you keep the yarn at the front of the work when purling, the reverse of the knit stitch.
Mixing the two gives you three classic fabrics, all described by LoveCrafts:
- Garter stitch: knit every row for a squishy, ridged fabric that lies flat and looks the same on both sides.
- Stocking stitch: alternate a knit row with a purl row for the smooth, V-shaped fabric seen on most jumpers.
- Ribbing: knit two, purl two across a row for the stretch you see in cuffs and hat brims.
Why are my first rows tight, and how do I fix mistakes?
LoveCrafts says tight and uneven first rows are completely normal, and that your grip should relax by the time you finish your first ball of yarn. Bob Vila describes tension as how loose or tight your stitches are.
Three small problems come up often:
- Tight stitches: loosen your hold on the needles and yarn, and let the stitches slide.
- Wrong needle size: Sheep and Stitch says going up or down a millimetre is no big deal, but any more and your knitting might be too tight or too loose.
- Dropped stitches: Bob Vila recommends a crochet hook for picking up stitches that fall off the needle on beginner projects.
What to knit next, and how crochet differs
A flat practice square in garter stitch is a sensible first piece, since every row is a knit row. Once it feels comfortable, try a scarf, which suits the straight needles you already own.
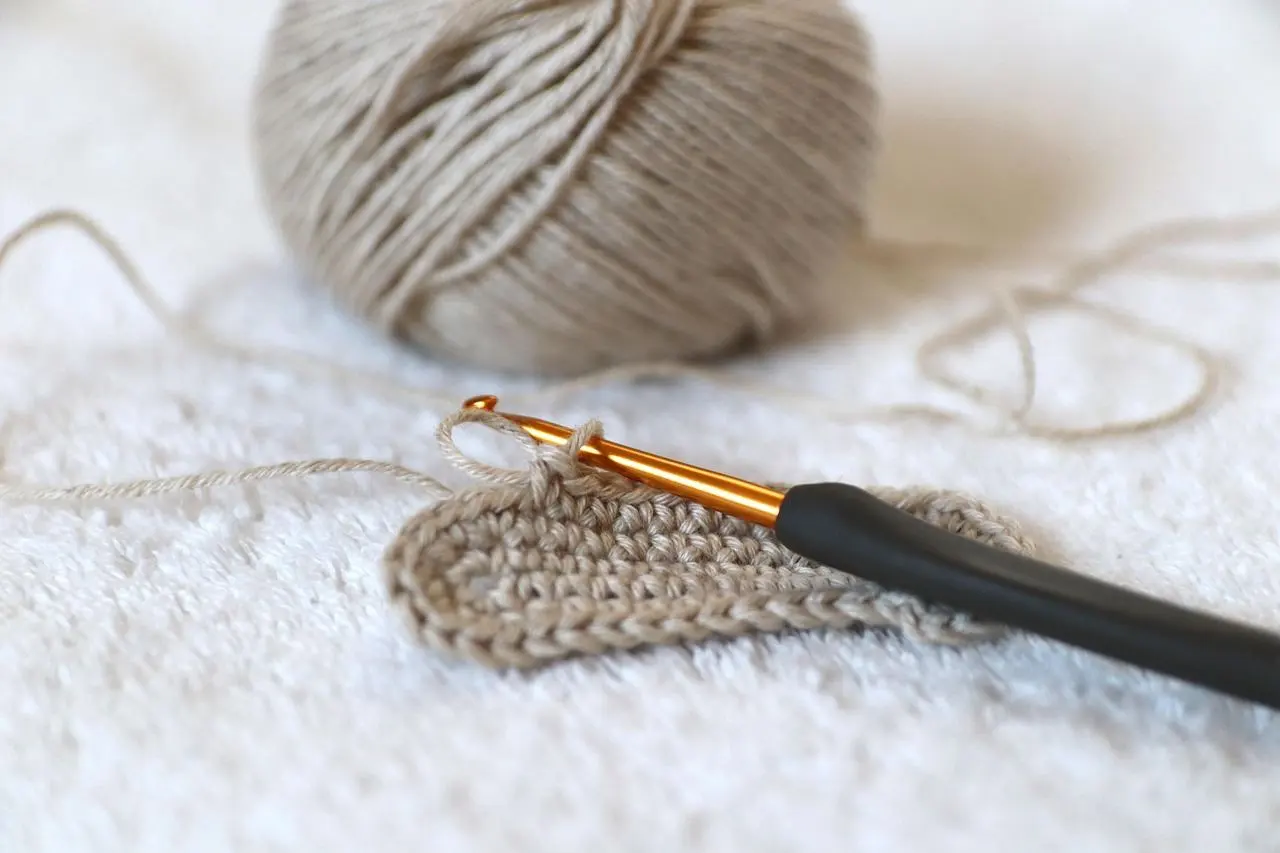
Knitting is different from crochet, which Gathered describes as using a single hook to make knot-like stitches rather than interlocking ones. If a hook appeals more, our guide on how to crochet for beginners covers the basics. You can also browse easy crochet projects for beginners for first makes.
Frequently asked questions
How long does it take to learn the basics?
Show answer
Gathered suggests a quiet spot and roughly an hour is enough to get started with its method, as set out on its knitting guide. Smooth, even rows take longer, and Sheep and Stitch warns you probably will not get the hang of it on your first try.
Can left-handed people learn from these guides?
Show answer
Yes, with a small adjustment. According to Gathered, some left-handed knitters simply work right-handed, while others flip every left for a right and vice versa.
What if I get stuck?
Show answer
Gathered recommends visiting a knitting group if you have any trouble, since someone there will help you get started. Local yarn shops are one place such groups may meet.
Do I need tools beyond yarn and needles?
Show answer
Not at first. Bob Vila lists scissors, a crochet hook and a darning needle as useful extras, and says stitch markers are not a necessity when learning but become useful on bigger projects.