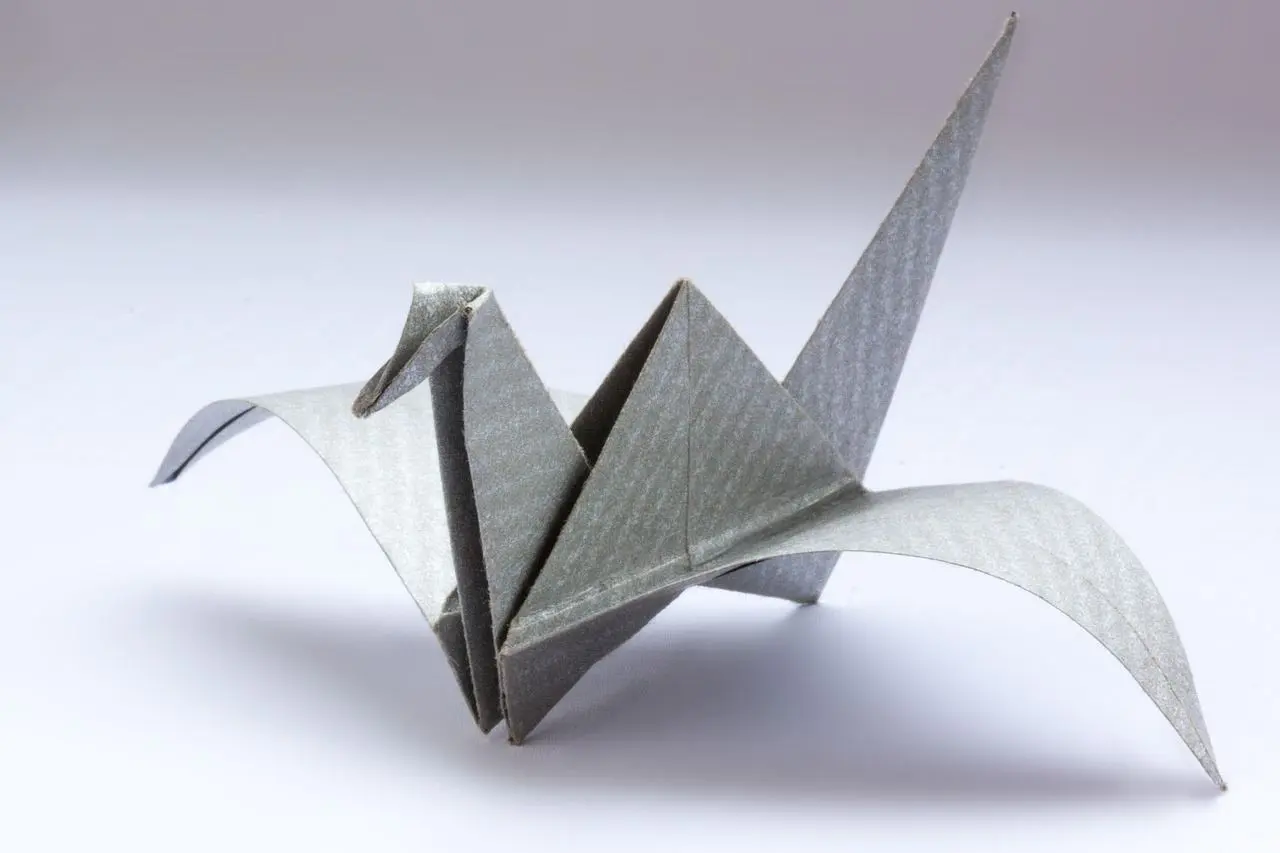
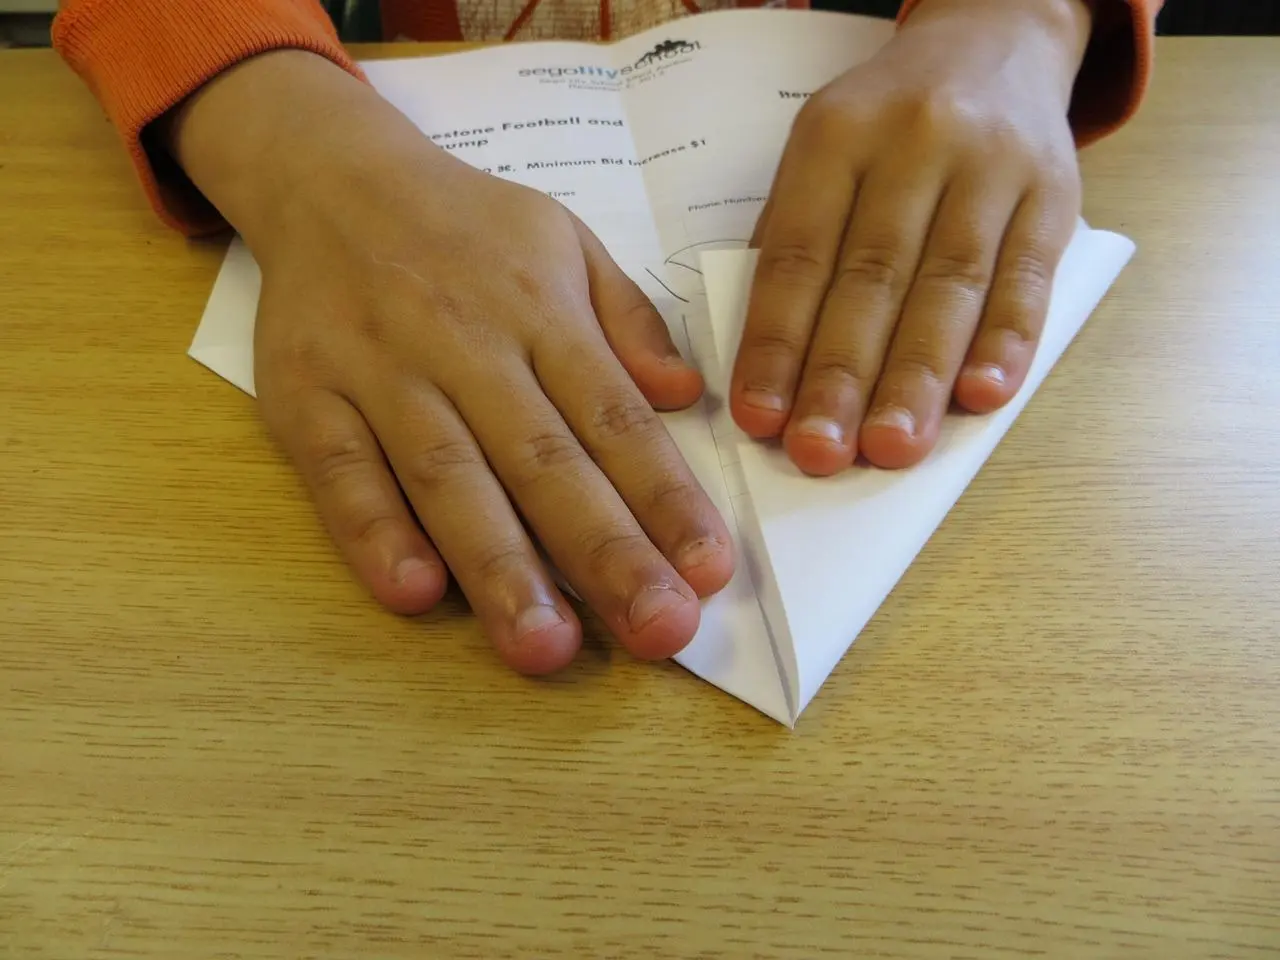
Origami for beginners starts with paper and a handful of folds. If you’re unsure where to begin, learn the valley and mountain folds first, then repeat one simple model until it feels easy.
If you want to compare origami with other starter projects, the guide to paper crafts for beginners is a good place to look.
| Item | Value |
|---|---|
| Basic folds behind most models | 10-12 folds |
| Valley fold symbol | Dotted line |
| Mountain fold symbol | Dots and dashes |
| Typical sheet of paper | A square sheet |
| Glue, tape or scissors used | None |
The fold count comes from the Georgia Tech Museum of Papermaking and the symbols and sheet shape from DLTK’s Crafts for Kids. Figures can change, so check the sources before you rely on them.
What you need before your first fold
Origami is a traditional Japanese craft that is still very much alive today, according to tsunagu Japan. DLTK’s Crafts for Kids describes it as folding a piece of paper, typically a square, into something recognizable without glue, tape or scissors.
Paper is the only material you need, and origami.me says you can use pretty much any paper you can find. Double-sided origami paper is handy because each side is typically a different colour, and DLTK says it is inexpensive at a local craft store.
If you only have a rectangle, you can turn it into a square by following the method DLTK gives:
- Fold the top corner of the paper over to form a triangle.
- Cut off the small rectangle below the triangle.
- Unfold the paper, and you have a square with a crease.
Whatever paper you choose, crisp creases matter. DLTK advises being as exact as possible and running a finger along each fold, and origami.me adds that you should crease each fold very well and press everything flat.
How to read origami diagram symbols
Diagrams use a small set of lines and arrows, and DLTK says these symbols are commonly recognized and should match in pretty much any book or diagram. Learning them first pays off: the Origami Resource Center says that once you know the symbols you can start folding easy models.
- Dotted line: a valley fold, where the paper looks like a valley between two hills, as DLTK explains.
- Dots and dashes: a mountain fold, where the paper is folded so it looks like a mountain, again per DLTK.
- Solid line: a crease you can already see from a fold that has been made, according to DLTK.
- Arrows: a double-line arrow means fold, crease and then unfold, and a looped arrow means flip your paper over, as listed by DLTK.
The two folds to learn first: valley and mountain
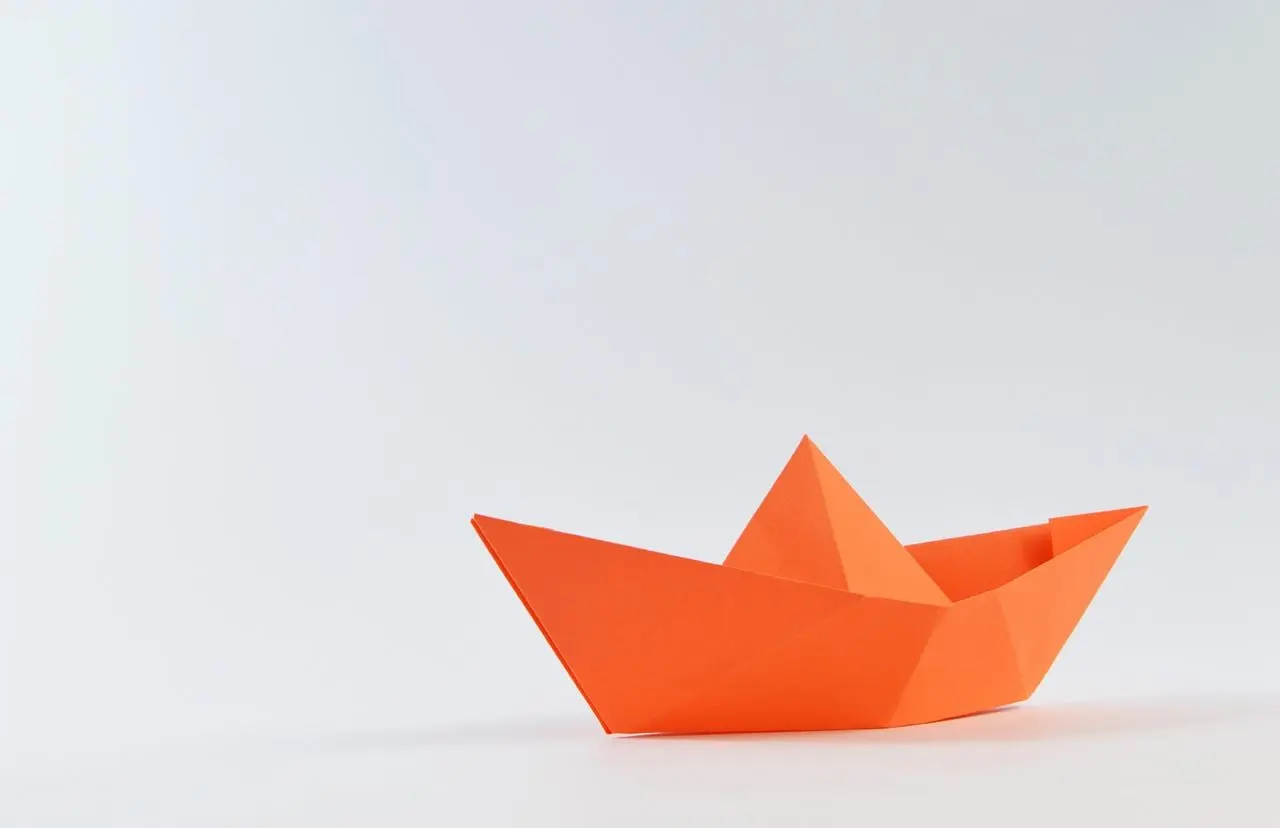
tsunagu Japan calls the mountain fold and valley fold the two most basic skills in origami, and says you will use them more than any other. origami.me goes further: pretty much every fold is a mountain fold, a valley fold, or a combination of the two.
In a valley fold the crease bends the paper up and resembles a valley. In a mountain fold it bends the paper down and resembles a mountain, according to origami.me.
Accuracy counts from the start. tsunagu Japan says the key point of a mountain fold is to line up the corners precisely, and that you should take care not to mistake one fold for the other because both recur many times in a model.
Other basic folds you will meet in diagrams
The Georgia Tech Museum of Papermaking says a foundation of 10-12 basic folds is essential to build origami, including the rabbit ear, reverse, squash, swivel, pleat, crimp, petal and sink folds. These are the ones beginners tend to meet first:
- Inside reverse fold: a very common fold where the paper is folded inside of the model, as origami.me describes it.
- Outside reverse fold: the opposite, where the paper is folded outside of the model, also per origami.me.
- Squash fold: you essentially take a flap of paper and squash it flat, according to origami.me.
- Rabbit ear fold: it makes a flap of paper resembling a rabbit’s ear, which gives the fold its name, says origami.me.
- Cushion fold: tsunagu Japan says it is required for objects such as flowers, boxes and sumo wrestler dolls, and that it is named after a square sitting cushion called “zabuton”.
For the cushion fold, tsunagu Japan says the key is to pinch the creases well and then fold with precision. Keep in mind that origami.me notes its example diagrams are intentionally exaggerated to show as many flaps as possible, so use them to understand the movement rather than to match a picture exactly.
From folds to bases and your first models
The Georgia Tech Museum of Papermaking explains that origami begins by folding the sheet into a base, a geometric shape that most closely relates to the structure of the desired subject. The Origami Resource Center lists common bases including the kite, fish, waterbomb, preliminary, windmill, bird and frog bases.
The beginner guide at origami.me moves from the main folds to the bases and then to a first model, the traditional paper crane. When you are ready for a first model, a guide on how to make an origami crane is a sensible next step.
Practice helps more than perfection. The Origami Resource Center says the best origami comes from people who practise, so you need not worry about trying the same model more than once. If you enjoy working with paper, card making for beginners is another easy craft to try next.
Frequently asked questions
Do I need special paper to start?
Show answer
No. The beginner guide at origami.me treats ordinary paper as fine for a first try. If you do buy origami paper, DLTK notes that the usual kind is coloured differently on each side.
Which fold should I learn first?
Show answer
Start with the valley fold and the mountain fold. tsunagu Japan ranks that pair as the most basic skills in the craft, so everything else builds on them.
Is it fine to repeat the same model?
Show answer
Yes. Folding one model several times is a normal way to gain experience, as the Origami Resource Center encourages.
Do I need scissors or glue?
Show answer
Classic origami uses neither, as DLTK defines it. The only cutting mentioned on this page is trimming a rectangle down to a square.