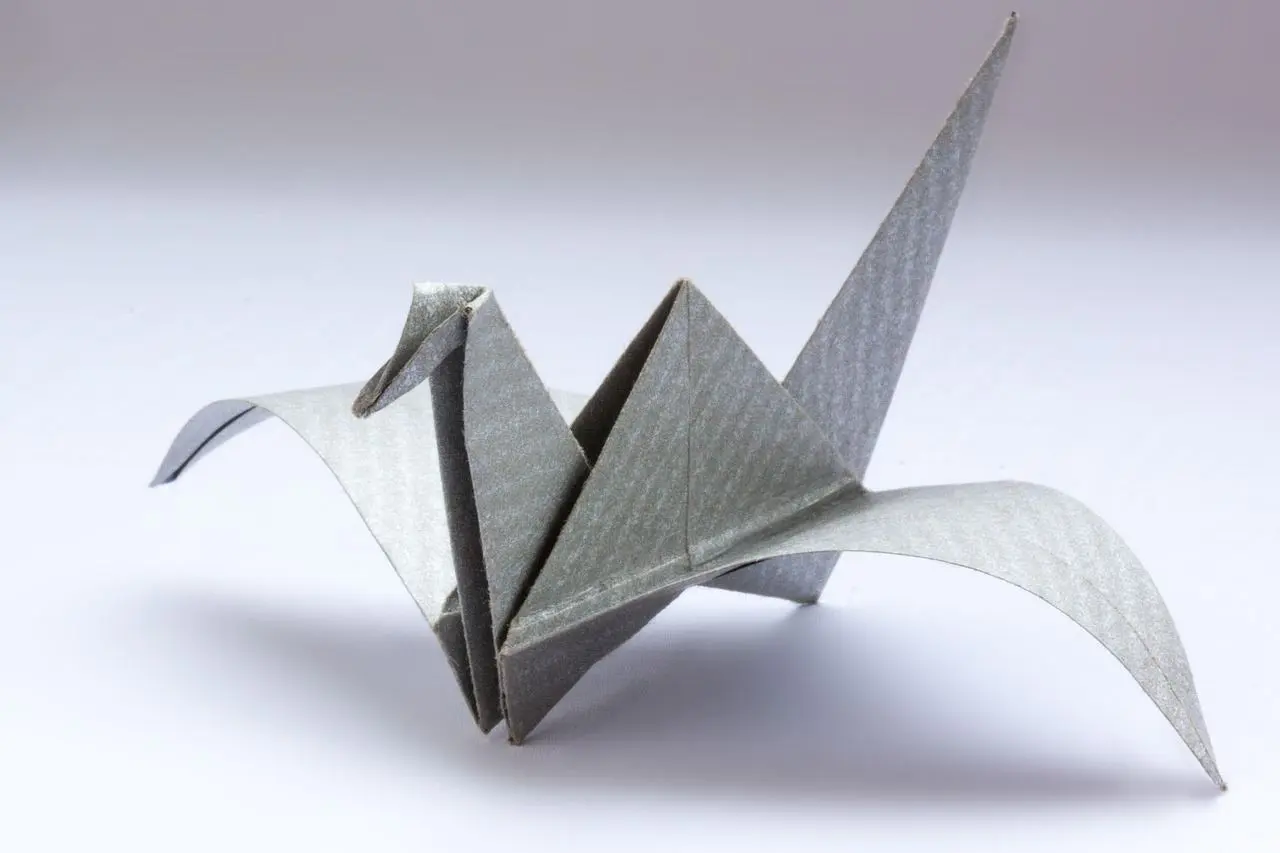
Wondering how to make an origami crane without losing your place halfway? You can fold one from a single square sheet in a few calm minutes, built on the bird base and careful creases.
If you are just starting out, our guide to paper crafts for beginners shows where this fold fits among other simple projects.
| Item | Value |
|---|---|
| Folding time | 5-10 minutes |
| Recommended paper size | 6 x 6 in (15 x 15 cm) |
| Base the crane is built from | Bird base |
| Length of the origami.me tutorial | 28 steps |
| Length of the Gathered tutorial | 18 steps |
| Traditional thousand-crane display | 1,000 paper cranes (25 strings of 40 cranes) |
These figures come from the origami.me crane tutorial and the Gathered crane tutorial. They can change, so check the sources before you rely on them.
What you need before you fold
According to Gathered, the only thing you need for origami is paper and your hands. Everything else is optional.
The origami.me tutorial recommends 6 x 6 in (15 x 15 cm) origami paper, either plain kami or patterned chiyogami. It describes the crane as not a difficult model, but one that asks for a bit of care and patience.
Gathered adds that speciality origami paper is thinner than regular paper, which allows greater manipulation in the folds. If you plan to keep folding, it suggests proper paper is a worthwhile purchase.
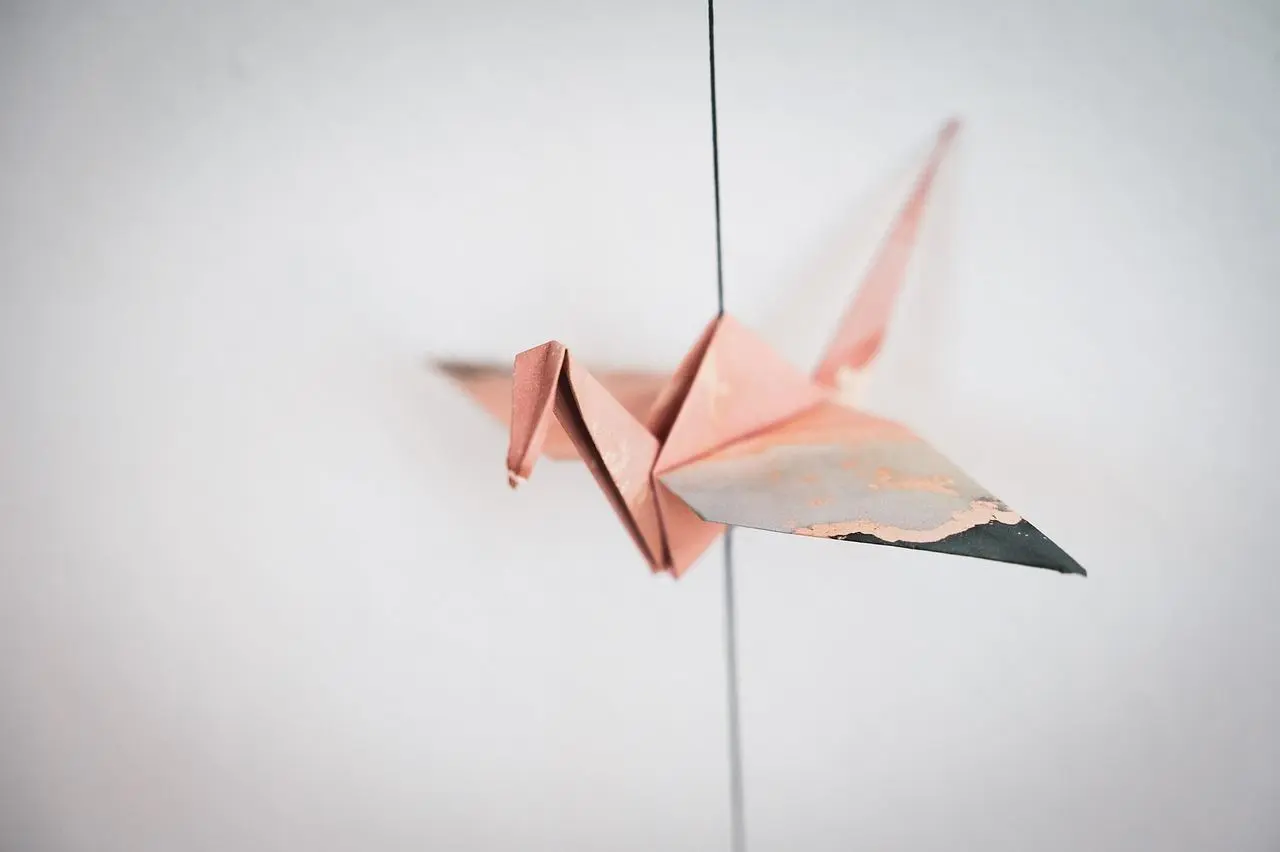
How to make an origami crane, step by step
The sequence below paraphrases the origami.me tutorial, which runs to 28 steps. The Gathered version is written in 18 steps, so expect the folds to be grouped differently from one guide to another.
Start with the coloured side up, since Gathered notes this is the side you want to show on the final model.
- Place the paper in a diamond position, coloured side up. Fold and unfold along both diagonals.
- Turn the paper over. Fold and unfold it side to side, in both directions.
- Collapse along the existing creases into a square base by bringing the left and right corners down to meet the bottom corner.
- Fold the left and right edges of the top flaps to meet the vertical centerline.
- Fold the top corner down to crease it, then unfold the side flaps again.
- Lift the top layer and bring the bottom corner up to form a petal fold. The outer edges meet at the centerline.
- Turn the model over and repeat the side folds and the petal fold. You now have the bird base.
- Fold the left and right edges toward the centerline, leaving a small gap. Turn over and do the same on the other side.
- Fold the top right flap over to the left, turn the model over, and repeat.
- Fold the bottom corner of the top flap upward along the existing horizontal crease. Turn over and repeat.
- Fold the top right flap over to the left once more on each side, then swivel fold the tail to the left and the right, aligning each with the outer edge.
- Mountain fold the head, crease it well, and unfold. Push the head down and inside reverse fold it along those creases. Finally, open the wings gently.
Tips for sharper creases and a balanced crane
Small habits make the biggest difference to how the finished bird looks.
- Treat the opening folds with respect: origami.me says the first creases are often the most important.
- Match corners exactly. The Japan Foundation lesson warns that if the corners don’t meet perfectly at the beginning, you cannot make a good-looking crane.
- Leave a small gap near the centerline when folding the edges in, because origami.me says this makes the upcoming steps easier.
- Choose a mountain fold for the head crease if you fold in the air; the same tutorial calls it usually easier to manage.
- Pull the wings gently in opposite directions to round out the back of the crane, an optional finishing touch.
Why people fold a thousand cranes
In Japan, the crane is traditionally said to live for a thousand years. From that belief grew the idea that folding a large batch of cranes can bring good fortune or the fulfilment of a wish.
The traditional display is a senbazuru. Gathered explains that 1,000 paper cranes are assembled onto 25 strings, each containing 40 cranes, with beads at the string ends to stop the cranes from falling off.
The crane’s worldwide fame is closely tied to Sadako and the Thousand Paper Cranes, a children’s book by Eleanor Coerr, as origami.me describes. In the story, Sadako Sasaki folded paper cranes in hospital, hoping that reaching a thousand would help her recover.
The Japan Foundation notes that cranes made from origami paper are called orizuru, and that the form represents a crane flying.
Where to go after your first crane
The bird base is worth practising, because origami.me says you will start seeing it in birds, animals and many classic designs. Our guide to origami for beginners is a natural next read.
Finished cranes also work as decoration. Gathered suggests mounting one onto a coloured background or card blank, and our introduction to scrapbooking for beginners covers a related paper craft.
Frequently asked questions
How long does one crane take to fold?
Show answer
The origami.me tutorial lists a folding time of 5-10 minutes, per its crane page. Treat that as a guide rather than a promise.
What is a folded paper crane called in Japanese?
Show answer
The Japan Foundation lesson gives the word orizuru for cranes created from origami paper.
Is the crane too hard for a beginner?
Show answer
Not necessarily. origami.me points out that many children in Japan learn it in kindergarten or early elementary school, as long as they go slowly.
Which side of the paper should face up first?
Show answer
Begin with the side you want to show in the final model, as Gathered advises. Its tutorial starts from a square sheet, then folds and unfolds along the diagonals.