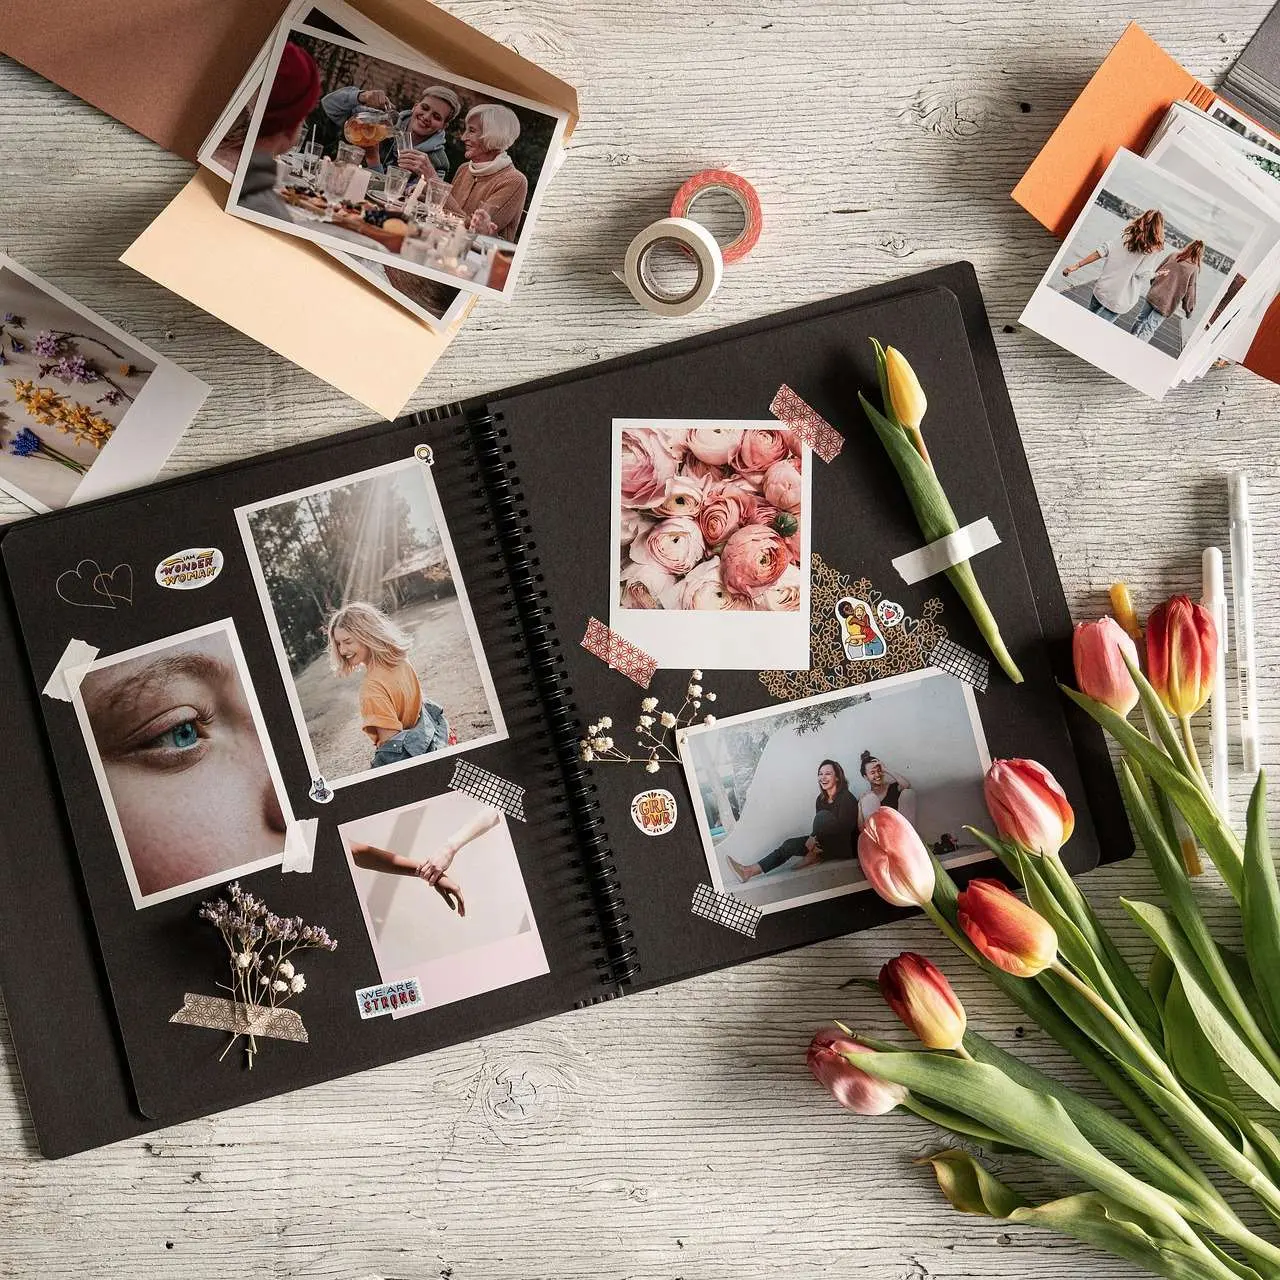
Staring at a craft store aisle and not sure where to begin? Scrapbooking for beginners needs only a few basics: a trimmer, cardstock, acid-free adhesive, a pen and an album. Start there and add extras later.
This guide is part of a wider series, so if you are new to the hobby you may also like paper crafts for beginners.
| Item | Value |
|---|---|
| Length of the source’s beginner checklist | 10 scrapbooking essentials |
| Base cardstock size | 12×12 cardstock |
| Album size | 12″x12″ album |
| Page protector formats | Side-load or top-load |
| Pages from one workshop kit | Three two-page 12″x12″ layouts |
These figures come from a beginner scrapbook supplies post on the Stampin’ Up! blog. Product ranges and specifications can change, so check the source before you rely on them.
What do you need to start scrapbooking?
The brand’s post lists 10 scrapbooking essentials for newcomers, covering cutting, base paper, adhesives, a pen, protection and storage, as laid out in its beginner guide. It is a manufacturer’s blog, so treat the list as one example of a sensible kit rather than a ranking of brands.
In plain terms, the categories are:
- A paper trimmer, plus spare cutting blades
- Cardstock for the base layer of each page
- A glass mat with measurements and a reusable cloth
- A permanent glide-on adhesive and its refills
- Foam dimensionals for raised elements
- A multipurpose liquid glue pen
- A black journaling pen
- Memory protectors for finished pages
- An album that fits those pages
- A workshop kit with ready-chosen paper and extras
You do not have to buy every item on day one. A trimmer, cardstock, adhesive, pen, protectors and an album cover the full journey from blank page to shelf.
Why acid-free paper and glue matter
A scrapbook page exists to hold a memory, so the source warns against yellowing, fading and deterioration, and notes that not all glue, paper, stamps and ink are made with the same dedication to longevity.
The brand says many of its papers are acid-free and lignin-free, and it tells shoppers to check the paper description on the product page. Its glue and adhesives are also described as acid-free. When you shop for any brand, that kind of label wording is worth looking for, as the source suggests.
Cardstock also comes in different constructions. The source describes its standard cardstock as dyed all the way through with no white core, while its two-tone cardstock has a white core, which changes how cut edges look on a layout, as explained in the same post.
Cutting, sticking and writing: the core tools
A paper trimmer is the first tool the source recommends. It describes one with an extra-wide cutting base and an extendable ruler that helps beginners make crisp, even lines, and it suggests keeping replacement blades on hand, according to the guide.
Adhesives come next, and the list includes several types. A permanent glide-on adhesive has no drying time, and a liquid glue pen has a narrow tip for detail and a broad tip for larger jobs, with clear-drying, acid-free glue, as the source explains.
Foam dimensionals are two-sided foam adhesive pieces that lift an element off the page. According to the brand’s description, the effect is a cut-out sitting slightly raised instead of glued flat.
For handwriting, the list names a black journaling pen with ink that does not fade or yellow, is acid-free and smudge resistant, and suits many materials, per the source. For a broader look at cutters, punches and other gear, read about paper crafting tools.
Protecting and storing finished pages
Once a layout is done, memory protectors keep it clean. The source describes acid-free, archival-quality protectors that come in side-load or top-load versions, sized for pages of 12×12, per its product notes.
An album then gathers the pages in order. The brand makes a 12″x12″ album for that purpose and frames sliding a finished page into it as part of the ritual of creating, as it says in the post.
Whatever brand you pick, make sure the album and the protectors match the size of your pages before you buy either one.
Should a beginner start with a kit?
A kit is a shortcut, not a requirement. The brand’s workshop kits each make three two-page 12″x12″ scrapbook layouts and include paper, embellishments, dimensionals, stamps and ink, according to the source.
The source also says the kits are designed around key seasons and holidays of the year. One example is a nature-themed kit with paper, stickers and images for hikes, road trips and other outdoor adventures, as the post describes it.
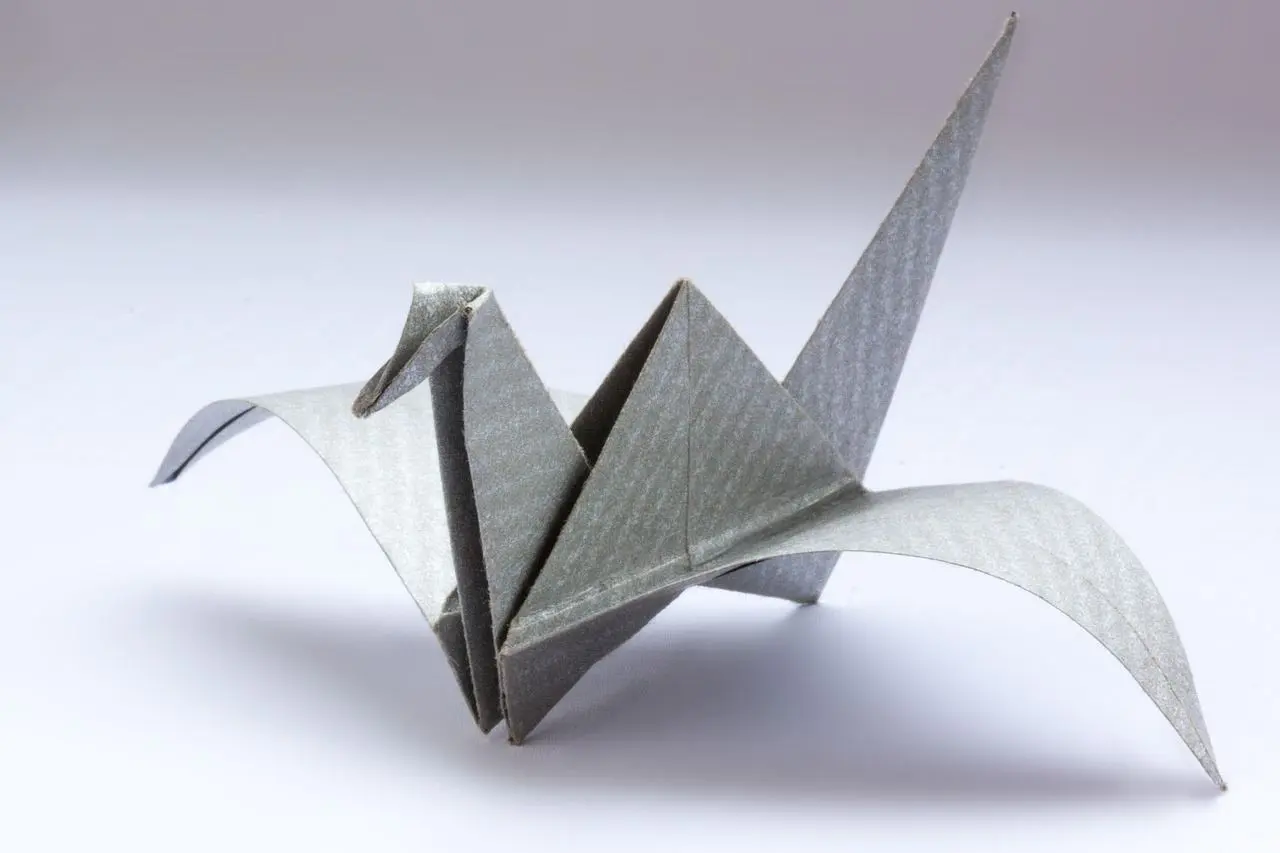
The brand still recommends owning the other tools on its list to get the most from a kit. Leftover paper scraps can feed other small projects too, and the guide on how to make an origami crane is a gentle place to start.
A simple routine for your first page
Once your supplies are on the table, a first page can follow a short, repeatable routine:
- Pick a handful of photos that belong to one event or moment.
- Trim a sheet of cardstock for the base and cut a couple of coloured mats for the photos.
- Arrange everything loosely before you stick anything down.
- Attach photos with acid-free adhesive, and use foam dimensionals on any piece you want raised.
- Add a short caption with the journaling pen: who, where and why it mattered.
- Slide the finished page into a protector and then into the album.
Keep the first layout simple. Confidence tends to come from finishing a page, not from owning every supply.
Frequently asked questions
Do I need to buy a kit to begin?
Show answer
No. A kit bundles papers and embellishments for convenience, but you can gather a trimmer, cardstock and adhesive separately and add themed paper as your taste develops.
How do I stop my pages from fading or turning yellow?
Show answer
Choose papers, glues and pens that are labelled acid-free, and look for ink described as non-fading. Then store finished pages in protectors inside an album rather than leaving them loose.
Which adhesive should I buy first?
Show answer
Match the glue to the job. A liquid pen suits small, detailed pieces, a glide-on adhesive suits larger surfaces, and foam squares suit anything you want to stand off the page.
What page size should I choose?
Show answer
The source builds its whole range around 12×12 pages, so cardstock, protectors and albums line up, as its guide shows. If you prefer another size, keep every item in the same format.