Not sure which paper crafting tools to buy first? You only need a trimmer, scissors, a cutting mat, a bone folder and adhesive to start; add everything else when a project calls for it.
If you are still choosing a project, read the guide to paper crafts for beginners first.
| Item | Value |
|---|---|
| Core beginner basics | Three: paper, scissors and glue |
| Scissors for longer cuts | 5 or 7-inch blade |
| Minimum scissor sizes to keep | At least two sizes |
| Superglue released commercially | 1958 |
The beginner basics and the superglue date come from Altenew’s guide to basic paper crafting tools, and the scissor sizes from OLFA’s beginner tools post. These figures can change, so check the sources before you rely on them.
What does a beginner need first?
Altenew’s beginner guide names three basics: paper, scissors and glue. It calls them the most basic things you need to get started, and treats everything else as an extra (source).
Spellbinders’ cardmaking guide agrees that you do not need every item before your first card. It suggests a paper trimmer, scoring board, scissors, ruler, adhesive and a basic stamping or die-cutting setup as a versatile foundation (source).
Crafter’s Companion takes a wider view with a list of 11 craft supplies for any crafter. It runs from scissors and a cutting mat to tape, embellishments and a die-cutting machine (source).
Cutting tools: trimmer, scissors and craft knife
Straight, tidy edges come from three tools, and each one suits a different job.
- A paper trimmer for long, straight cuts.
- Scissors for trimming, fussy cutting and general snipping.
- A craft knife for precise or detailed cuts.
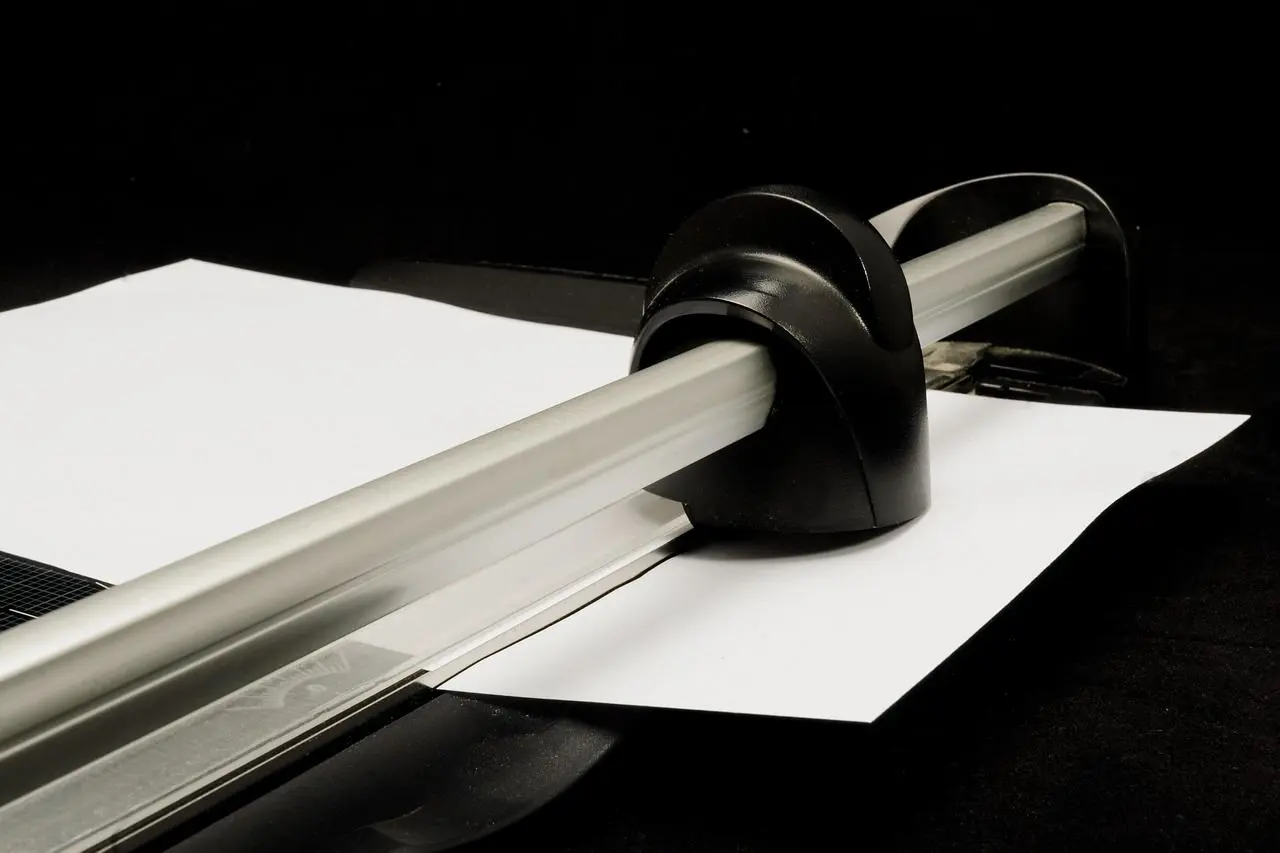
Altenew describes two types of paper trimmer, rotary and guillotine, in its essential paper crafting tools guide. Which one suits you depends mostly on how heavy your paper is.
| Type | How it works | Best for |
|---|---|---|
| Rotary | A flat base with a measuring grid and a small blade that you move from left to right. | Easier and safer to use, but not suited to heavy-duty trimming. |
| Guillotine | A long, sharp blade on an arm that you push down toward the base. | Heavier paper or cutting in bulk. |
These descriptions are drawn from Altenew’s guide; check it for updates before you buy.
For scissors, OLFA’s guide suggests keeping at least two sizes within reach: a 5 or 7-inch blade for longer lengths and a smaller precision blade for detail (source). Crafter’s Companion adds that precision snips are smaller than standard scissors, with a fine 4.5″ blade (source).
A craft knife is the traditional handle with a pointed, replaceable blade at one end. Altenew notes that blades vary, and that a swivel blade can rotate 360 degrees for circles and detailed cuts (source).
Mats and rulers that protect your desk and your cuts
Altenew lists three types of mat for paper crafting, and the self-healing cutting mat is the one that protects your surface from craft knives and rotary cutters (source). Spellbinders adds a glass mat, which gives a smooth surface for ink blending and mixed-media work (source).
OLFA’s guide pairs the mat with the blade: a self-healing mat for rotary cutters, and a translucent or folding mat for art and utility knives. That gives two mat styles to choose between, depending on what you cut most (source).
A metal ruler is the safer partner for a knife, because the metal surface protects the ruler from the blade (source). OLFA’s author also values a non-slip backing on any ruler used for designing or cutting paper (source).
Scoring and folding tools
Vaessen Creative defines scoring as creating a narrow groove before folding, so the paper bends exactly where you want it. The same guide says this reduces the risk of cracks, creases or torn edges (source).
Thin paper does not always need scoring, but with thicker paper, cardstock and light card it is often recommended. If you are weighing up which stock to buy, the cardstock weight guide is the place to compare options.
A scoring board makes the job repeatable. Spellbinders describes a 12″ x 12″ board with grooves spaced at ⅛-inch intervals, roomy enough for card bases, envelopes and boxes (source). A bone folder then creates crisp folds on card bases and dimensional projects, and a Teflon version will not leave shiny lines when used correctly (same source).
No board yet? Vaessen Creative says a ruler and a blunt scoring tool will do, and the steps below follow that method (source).
- Place the paper on a flat, firm surface.
- Measure where the fold should sit.
- Line a ruler up along that mark.
- Draw a bone folder or another blunt tool along the ruler’s edge.
- Check that the score line is clearly visible.
- Fold carefully along the line.
Before you commit to a good sheet, test your pressure on a scrap of the same paper first, as the guide advises.
Adhesives and small helpers
Altenew points out that adhesive of some kind is one of the most universally known craft items, so it earns a place in every kit (source). The same page adds a bit of trivia: superglue was created by accident in 1942, by inventor Harry Coover.
Spellbinders’ supply list names liquid adhesive, double-sided tape and foam tape, plus low-tack tape (source). Crafter’s Companion suggests low-tack tape for a temporary hold while you arrange layers, and for fixing a card to the mat without leaving residue (source).
A few small helpers earn their space once you start layering and embellishing:
- Tweezers, which Spellbinders says can pick up die cuts and embellishments or peel the liners from foam squares and foam tape.
- A pencil and eraser for light layout marks.
- Punches and a stamp-positioning system or acrylic blocks, once you move on to stamping.
If photos and layouts are your goal, scrapbooking for beginners covers a project where many of these tools get used together.
Build your kit in stages
Spellbinders advises beginning with the supplies that support the techniques you plan to try first (source). A staged order keeps spending low and stops unused gear piling up.
- Start with paper, scissors, a ruler, adhesive and a cutting mat.
- Add a paper trimmer when you want faster, straighter cuts.
- Add a scoring board and bone folder once you fold cards or boxes.
- Add tweezers, a craft knife and low-tack tape for detailed layering.
- Add stamping or die-cutting gear only when you know you will use it.
Frequently asked questions
Do I need a paper trimmer if I already own scissors?
Show answer
Altenew’s advice is that unless you cut very confidently with a knife or scissors, a trimmer is worth buying for neat, straight edges (source).
Is a scoring board essential?
Show answer
No. A ruler plus a blunt scoring tool or bone folder can make a clean score line, so a board is a convenience if you fold often (source).
Can the same tools be used for cards and scrapbooking?
Show answer
Largely, yes. Altenew says many of the same tools work for card making, scrapbooking and other paper projects, which makes the investment easier to justify (source).