Threading feels fiddly until you know the path, and one missed guide can wreck your stitches. Here is how to thread a sewing machine: wind the bobbin, raise the presser foot, guide the top thread, then thread the needle.
Threading is one of the first skills covered in sewing for beginners, so it pairs well with that wider guide.
| Item | Value |
|---|---|
| Presser foot while threading | Raised |
| Needle position before threading | Raised to the maximum with the handwheel turned toward you |
| Bobbin thread pushed through the hole in the bobbin top | About 3cm |
| Bobbin winder position when winding | Slid to the right until it clicks |
| Bobbin thread versus top thread | Matched in both colour and weight |
These figures come from Sew Guide and Woman & Home, and machines differ, so check the sources and your own manual before you rely on them.
Before you start: gather the basics
A machine draws on two sources of thread: the spool that sits on top and the bobbin that feeds from below, as Tilly and the Buttons explains. Both need to be ready before the machine can sew.
Have these to hand:
- Your sewing machine and its manual
- A spool of thread suited to your fabric
- An empty bobbin that fits your machine
- A pair of scissors for snipping thread ends
The best starting point is your machine’s instruction manual, which may carry its own threading tips, according to Woman & Home. Overlock machines are a special case, because their threading path differs from a standard machine, as Sew Guide points out.
Winding the bobbin first
Spools are sold full, but bobbins come empty, so you move some of your chosen thread onto the bobbin before anything else, as Tilly and the Buttons describes. Woman & Home adds that the bobbin thread should match the top thread in colour and weight.
The steps run in this order:
- Place the spool on the spool pin. Some pins point upward, while others lie sideways and use a plastic cover to hold the spool in place.
- Pull the thread to the left and guide it round the bobbin-winder tension disc if your machine has one.
- Push the thread through the small hole in the top of the empty bobbin, leaving about 3cm of thread, then hold it in place.
- Set the bobbin on the winder and slide the winder to the right until it clicks.
- Press the pedal lightly to start, holding the loose end for the first few seconds, then wind until the bobbin is full.
- Snip the thread, take the bobbin off and switch the machine off.
The 3cm detail and the winder click come from Woman & Home. Switching off matters because you do not want the machine to start while your hands are near the needle, a point Tilly and the Buttons makes too.
Guiding the top thread to the needle
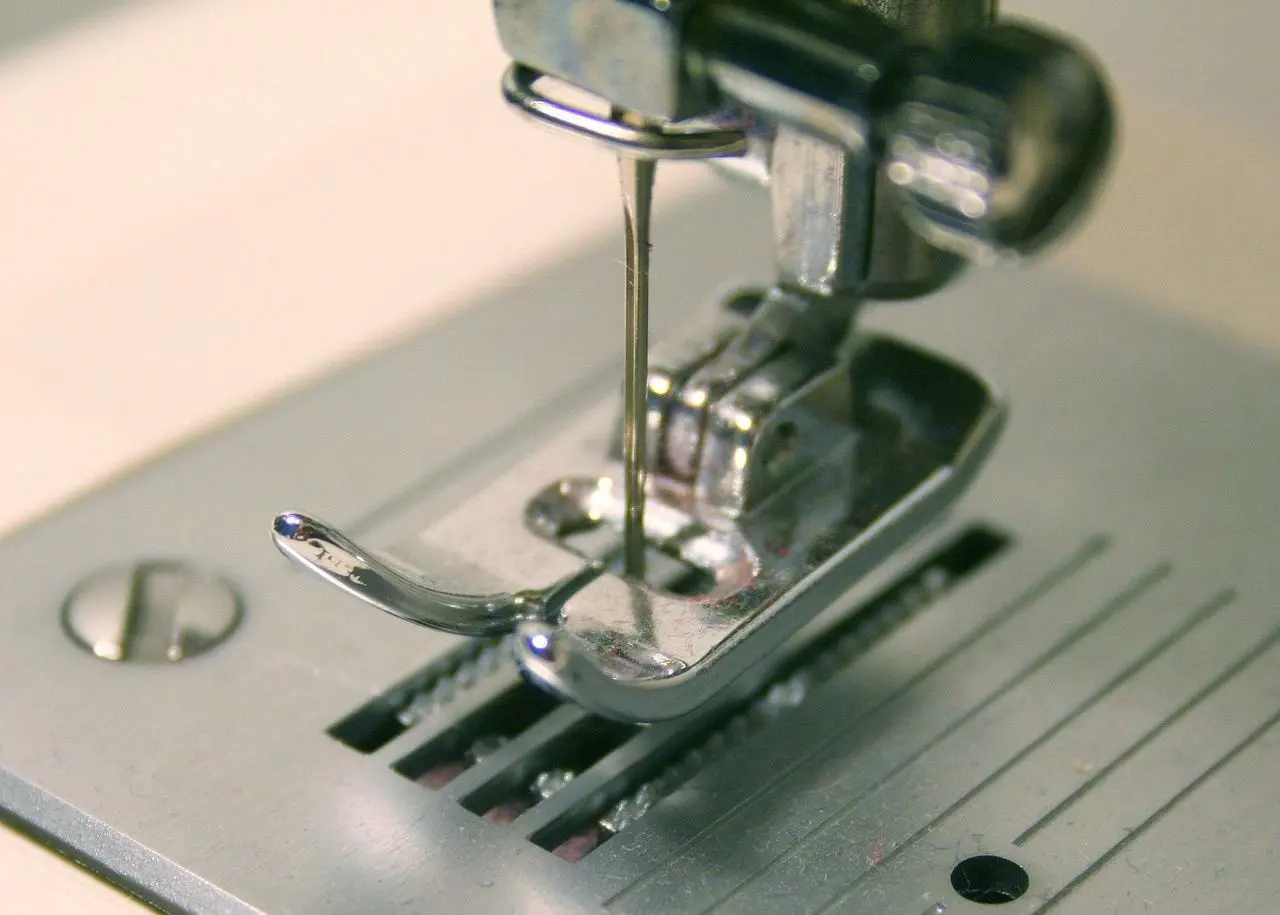
Lift the presser foot lever so the foot is up while you thread, which Sew Guide calls a most important step. The same page says to turn the handwheel toward you so the needle rises to its highest point.
Next, check the tension discs used for winding. Tilly and the Buttons warns that thread left on the little silver discs will make your stitching really tight.
From there, follow the arrows or engraved path on the machine down toward the needle. Take extra care around the tension guide, because a miss there can be hard to spot, and pass the thread behind the hooks above the needle.
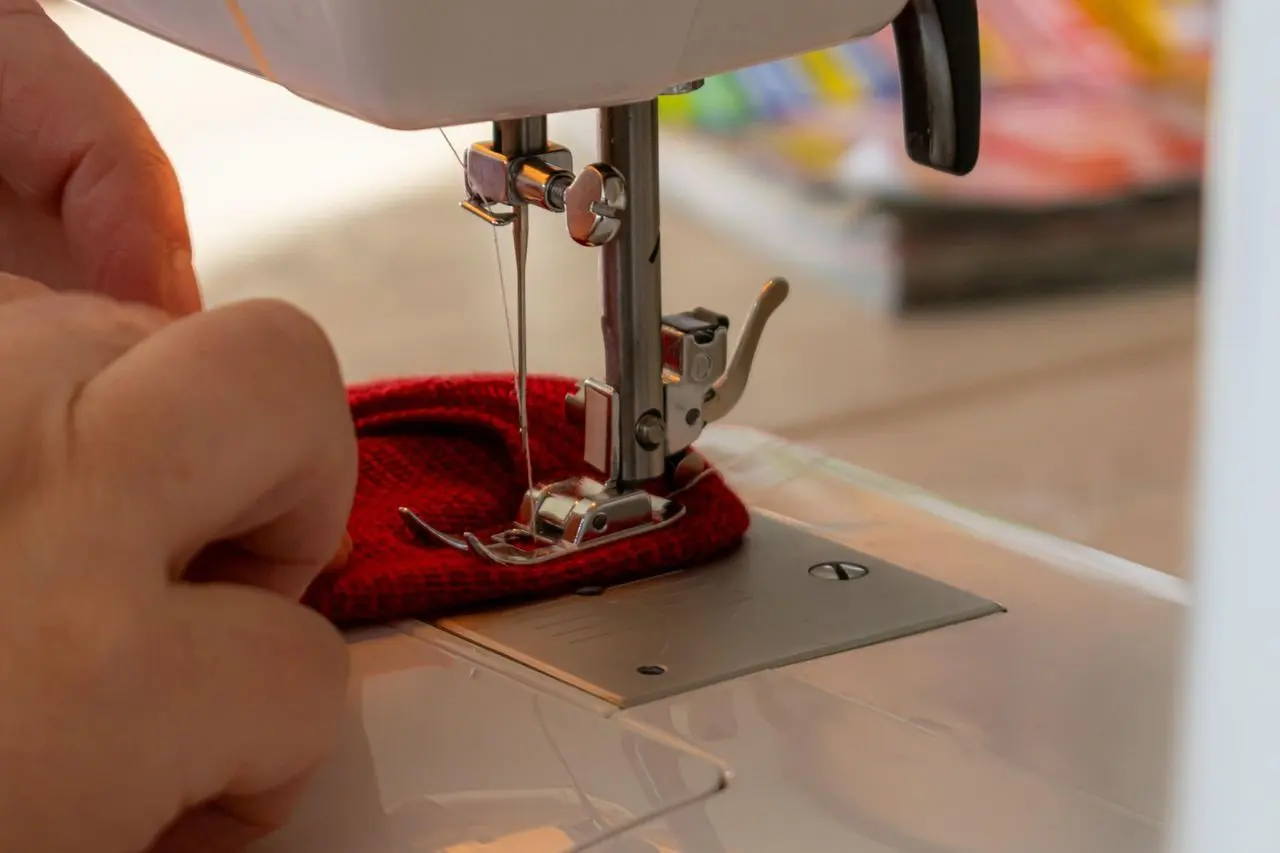
To thread the needle itself, check the thread is not twisted around it. Many machines take thread from front to back, but your manual has the final word, since Sew Guide notes that yours may differ.
If your machine has a built-in needle threader, Sew Guide recommends using it. A twin needle adds extra steps, including a second thread pin, and the threader may not work with it.
Needle and thread should also suit the cloth. Read about the types of fabric for sewing if you are unsure which combination to pick.
Loading the bobbin and bringing it up
Bobbin position depends on the model. Tilly and the Buttons separates front-loading machines from top-loading ones, and Woman & Home says most modern machines use drop-in bobbins.
How the bobbin sits is usually marked on the machine or shown in the manual, according to Sew Guide. Follow that diagram rather than guessing.
Finally, hold the top thread end and turn the handwheel so the needle goes down and brings up the bobbin thread. Pull that loop through, then gather both tails and take them to the back of the needle before you start sewing.
Threading problems to check when stitches go wrong
When a seam looks loose or the thread keeps tearing, rethread from the start before you blame the machine. Sew Guide lists the threading sequence as the first thing to check.
Run through this short list:
- The presser foot was down during threading
- Thread was left on the winding tension discs
- The thread is twisted around the needle
- The thread slipped past the tension guide
- The bobbin is not seated as the manual shows
Once threading feels natural, the guide on how to use a sewing machine covers what comes next.
Frequently asked questions
Why does my machine skip or tangle after I thread it?
Show answer
Most often the thread missed a guide or the presser foot was lowered during threading. Lift the foot, remove the thread completely and run it through the whole path again.
Do I really have to wind the bobbin before threading?
Show answer
Yes, because a new bobbin has nothing on it. Fill it from your chosen spool first, so the lower thread is ready when you reach the loading stage.
Can I use the needle threader with a twin needle?
Show answer
Not always. Sew Guide says you may be unable to use the threader with twin needles, so be ready to thread by hand.
Is every machine threaded in the same way?
Show answer
No. Spool pins, guides and bobbin types vary between models, and an overlock machine follows a different route. Your manual shows the exact path for yours.