
Staring at a new machine and unsure where to begin? Learning how to use a sewing machine comes down to four jobs: set up your space, wind and load the bobbin, thread the top, then sew a straight seam.
This lesson is one part of the wider guide to sewing for beginners, which covers the other basics of the craft.
| Item | Value |
|---|---|
| Thread tail to leave under the presser foot | About 15cm |
| Stitch length dial range | Between 0.5 and 4 |
| Zig-zag stitch width range | 1mm to 6mm |
| Stitch width dial for a straight stitch | 0 |
| Tension dial range for most general sewing | Between 3 and 5 |
These settings come from the University of Melbourne maker space guide, and the machine basics from The Sewing Studio. Dials differ between models and figures can change, so check the source and your manual before you rely on them.
Set up your workspace and machine
Start with a stable, flat surface where you can sit comfortably. According to The Sewing Studio, a dining table works well if you don’t have a dedicated sewing space. Good lighting matters too, because you will be working with small details.
The Melbourne maker space guide suggests having these ready before you begin:
- A clean desk space.
- A chair of appropriate height.
- A nearby, easily accessible power point.
- All your materials and tools within reach.
Plug the power cable into the side of the machine, usually the right-hand side, and switch on at the mains, as The Sewing Studio explains. Then connect the foot pedal. Keep your manual close, because it holds details specific to your machine.
Brands and layouts look different, but the principle is shared: two threads, one from above and one from below, interlock to form each stitch. That is why both the bobbin and the top thread matter.
Wind the bobbin and load it
The bobbin supplies the lower thread, so fill it first. The Melbourne guide describes the winding process in these steps:
- Place the thread and spool holder onto the spool pin.
- Snap the thread into the thread guide at the top of the machine.
- Wind the thread clockwise around the bobbin winder tension discs, snug between the discs.
- Pass the thread through the hole at the edge of the bobbin, from inside to outside, and push the bobbin all the way down on the spindle.
- Push the bobbin spindle to the right while holding the thread end securely.
- Press the foot pedal and wind a few revolutions, then stop and trim the thread end next to the bobbin.
- Resume winding until the bobbin is full, then cut the thread and push the spindle back to the left.
Leave the spindle in the left-hand sewing position. Otherwise the machine will keep behaving as if it is winding a bobbin.
Insert the bobbin into its case
- Raise the presser foot and make sure the needle is fully raised.
- Remove the bobbin cover plate by pushing its small tab to the right.
- Insert the bobbin so it turns counterclockwise when you pull the thread.
- Pull the thread through the slit at the front and toward the back, leaving about 15cm of thread, per the Melbourne guide, then refit the cover plate.
Thread the top of the machine
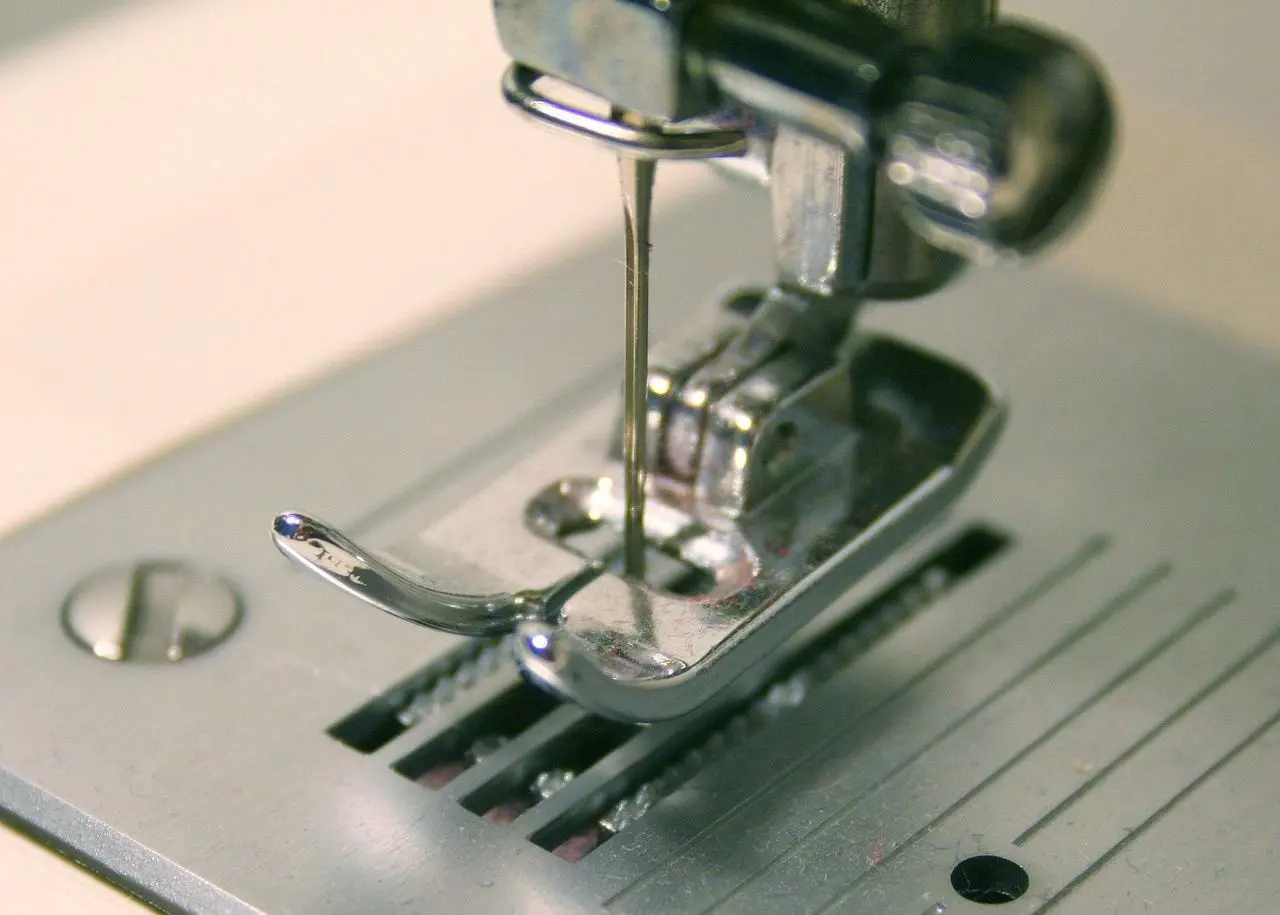
Raise the needle to its highest point, then keep turning the hand wheel toward you until the needle just begins to descend. The take-up lever should now be visible. Raise the presser foot too, which releases the tension discs.
From there, the Melbourne guide follows this path:
- Draw the thread from the spool through the upper thread guide and the pre-tension spring.
- Lead it down the right channel, around the U-turn and up the left channel.
- Pass it from right to left through the slotted eye of the take-up lever.
- Bring it down behind the first and then the second thread guide.
- Thread the needle eye from front to back.
- Pull about 15cm of thread under the presser foot toward the rear.
For a closer look at this stage, read the walkthrough on how to thread a sewing machine, and check your manual for the exact path on your model.
Bring up the bobbin thread
Hold the upper thread in your left hand and turn the hand wheel toward you so the needle goes down and comes back up. Gently pull the upper thread to draw the bobbin thread up through the needle plate hole. If it resists, check that the thread is not trapped in the bobbin cover, then lay both threads to the back under the presser foot.
How do you choose stitch length, width and tension?
Turn the stitch selector dial until your chosen stitch lines up with the dot above it. Then set the other dials, as the Melbourne guide describes:
- Stitch length: set the dial between 0.5 and 4. Longer stitches generally suit heavier fabrics, and shorter ones suit finer fabrics.
- Stitch width: zig-zag and stretch patterns range from 1mm to 6mm, while a straight stitch needs the width dial at 0.
- Needle position: set the dial to centre.
The same guide says the tension dial can sit between 3 and 5 for most general sewing. If the bobbin thread shows on the top of your fabric, turn the dial to a smaller number. If the upper thread looks loose, turn it to a higher number.
Change the needle and presser foot
Turn off the power before you touch the needle. Hold the needle, loosen the clamp screw, and slide in the new needle with the flat side of the shaft facing the back. Push it all the way up into the clamp and tighten the screw securely.
Match the needle style and size to your fabric, and replace it if it shows wear or causes stitch problems through dullness. To swap the presser foot, raise it with the lifter and press the release lever at the back of the holder. Set the new foot with its pin under the slot, then lower the lifter so it snaps into place.
Sew your first seam
Pick a medium weight woven fabric without stretch, such as cotton, wool or linen, since the Melbourne guide lists these among its recommended materials. Straight stitch is the basic stitch, and its most common use is joining two pieces of fabric.
- Select the straight stitch, set the width dial to 0 and the needle position to centre.
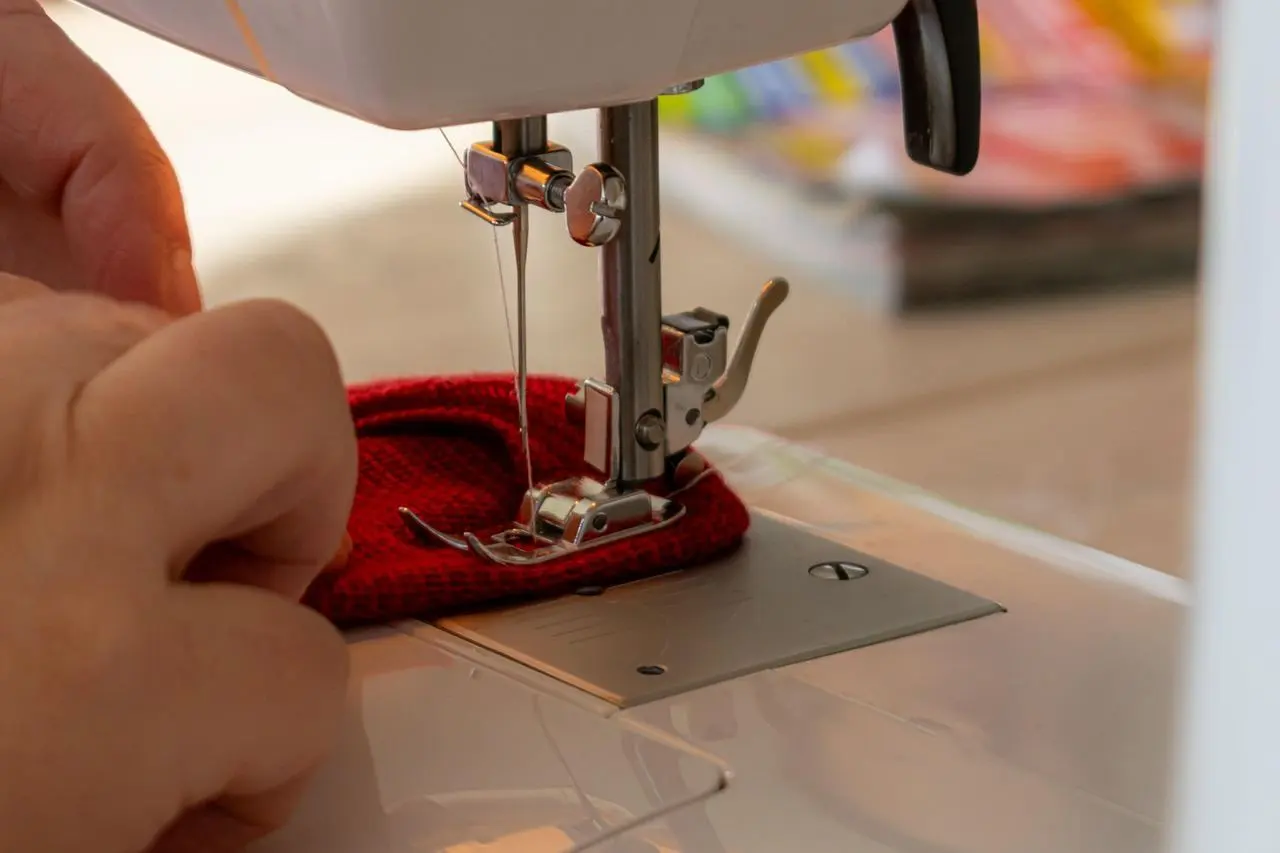
- Place your two pieces of fabric together under the presser foot.
- Sew a few stitches in reverse to secure the start of the seam.
- Sew forward along the seam at an unhurried pace.
- Sew in reverse again at the end to lock the seam.
- Look at both sides of the fabric and adjust the tension if the bobbin thread shows on top.
Once a straight seam feels steady, the guide on how to mend a hole in clothes shows a practical way to use the skill.
Frequently asked questions
Do all sewing machines work the same way?
Show answer
The core idea is common to every machine: an upper thread and a lower thread lock together, as The Sewing Studio notes. Controls and thread paths vary, so your manual is the final word on your own model.
What tension should I start with?
Show answer
A dial range of 3 to 5 covers most everyday projects, according to the Melbourne guide. Test on a scrap, and nudge the number up or down depending on which thread is showing where it shouldn’t.
Which way should the bobbin turn?
Show answer
Once it sits in the case, pulling the thread should make the bobbin spin counterclockwise, per the Melbourne guide. If it spins the other way, lift it out and turn it around.
When should I replace the needle?
Show answer
Swap it when it looks worn or when dullness starts causing stitch trouble, and switch the machine off first. The Melbourne guide also advises choosing a needle style and size suited to the fabric.
What is a good fabric for a first project?
Show answer
Plain woven cloth of medium weight with no stretch is the easiest place to begin, according to the Melbourne guide. Cotton is one of the examples it names.