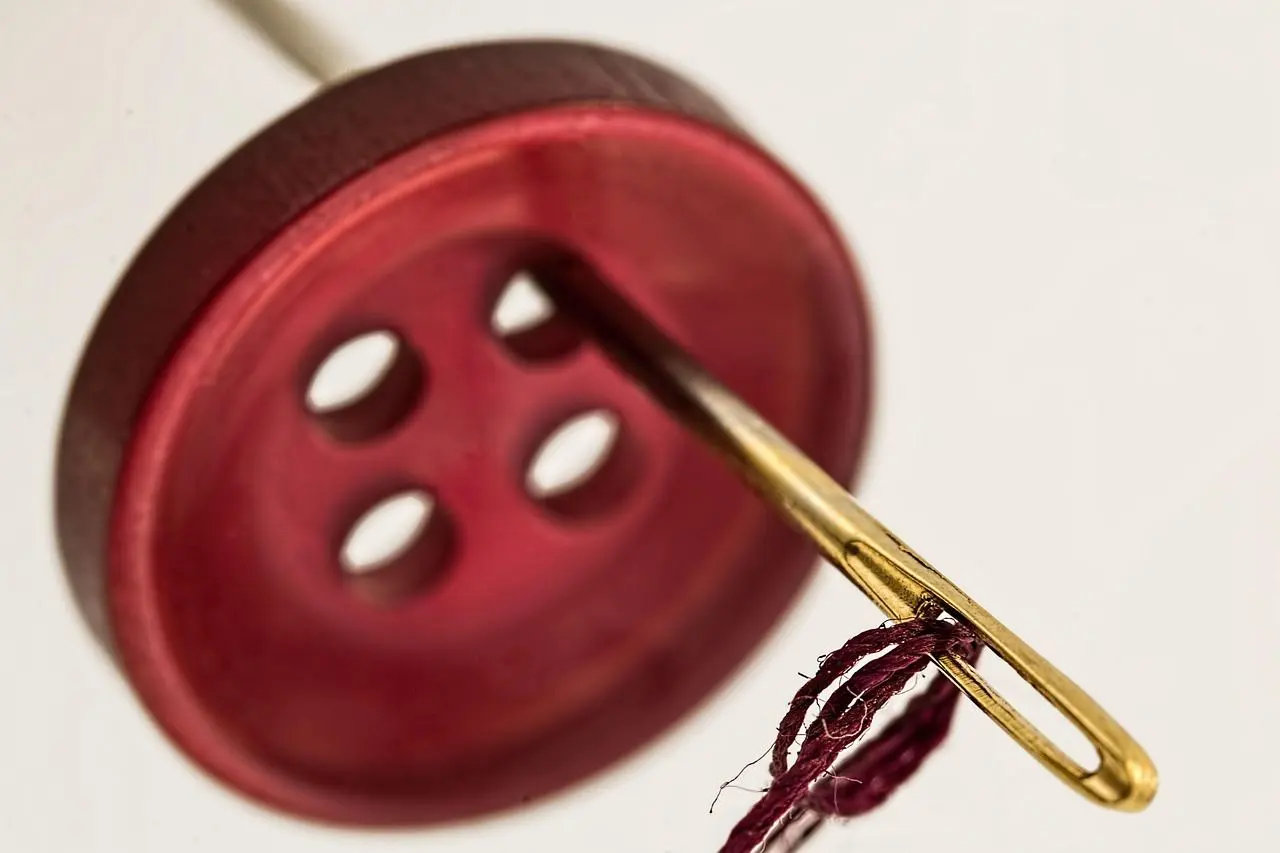
Lost a button and unsure where to start? Here is how to sew a button by hand: anchor an X of thread, stitch through the holes about six times, wrap a thread shank, then knot off.
If you are new to needle and thread, the wider guide to sewing for beginners puts this small repair in context.
| Item | Value |
|---|---|
| Doubled thread length | 24 inches |
| Minimum working thread | at least 12 inches |
| Passes through the holes | approximately six times |
| Wraps for the thread shank | six times |
These figures come from The Art of Manliness and OLFA’s hand-sewing tutorial, and they can change, so check the sources before you rely on them.
What to gather before you sew
A button repair needs only a few small supplies, and most of them live in a basic sewing kit.
- A sewing needle
- Strong thread
- The button, ideally the original one
- Scissors or another sharp cutter
- A pin, toothpick or second needle to act as a spacer
Cut about 24 inches of thread and double it over so both ends meet in one knot, as The Art of Manliness describes. The same guide says you want at least 12 inches to work with.
The reason for double thread is strain: a button gets tugged every time you fasten it. Sew4Home notes that two strands give the strength that keeps a button from falling off.
How to sew a flat button step by step
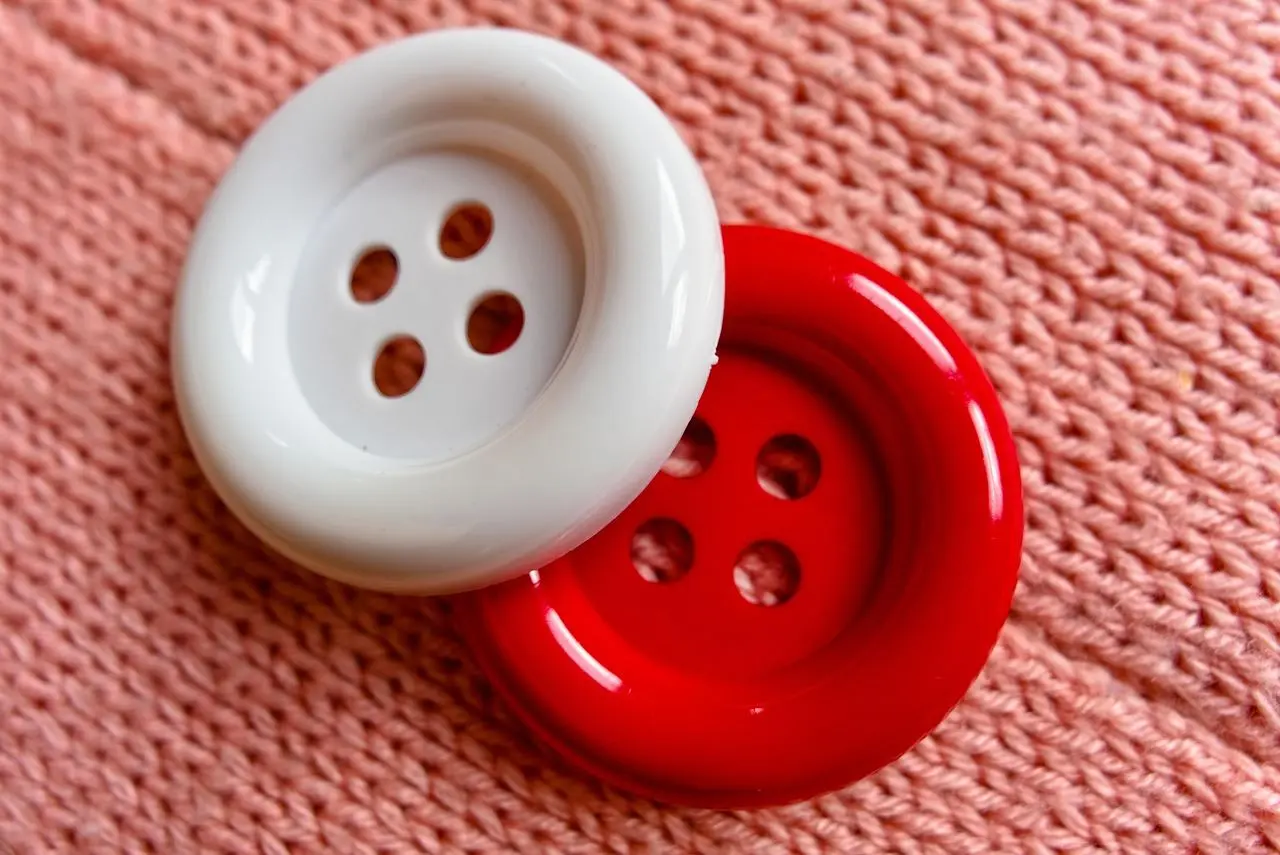
Flat buttons have holes through the body, so the stitching stays visible on top. Work through the steps in order.
- Bring the needle up from the back of the fabric at the spot where the button belongs. Stitch a small X there, which serves as your guide, as OLFA explains.
- Lay the button over the X. Slide a spacer, such as a pin or toothpick, on top of the button between the holes.
- Bring the needle up through one hole and down through the hole across from it. Keep going until you have made approximately six passes, following the count in OLFA’s tutorial.
- On the final pass, bring the needle up through the fabric but keep it under the button. Remove the spacer and wrap the thread around the stitches beneath the button six times, then pull snug.
- Take the needle to the back of the fabric. Slip it through the threads there to form a loop, pull through to make a knot, repeat a few times, and trim the tail.
If the back-and-forth motion feels clumsy, practising a few basic hand sewing stitches first can make it easier.
Why the thread shank matters
A button pressed flat against cloth is hard to push through a buttonhole. Sew4Home uses a pin under the button so there is space to fit it through the buttonhole when the job is done.
Once the spacer comes out, the wrapped threads form a short thread shank. They hold the button slightly away from the cloth and let it move in and out with ease.
Pull the wraps tight but not so hard that the fabric puckers. A loose wrap leaves the button wobbly.
How to sew a shank button
A shank button has a raised loop on the back instead of holes. Sew4Home observes that it lifts itself off the fabric, leaving a natural space between the button and the buttonhole.
That means no spacer is needed. Pull the thread through the single hole four or five times, tilting the button back and forth if you need better access, as Sew4Home advises.
To finish, leave a small loop of thread, pass the needle through it and tighten. OLFA repeats that knot two to three times before the thread is cut.
Hiding the knot on the back
A neat knot on the inside of a garment is fine for most repairs. When you want a cleaner result, there are two variations on the basic method.
- Hidden knot: start with a tiny stitch through the front of the fabric at the marked point, so the knot sits under the button. Finish by knotting beneath the button as well.
- No thread on the back: pick up only the top layer of fabric with each stitch, so nothing shows on the reverse.
Both come from Sew4Home, which suggests gently pulling the top layer away from the back layer so you do not catch it in the knot. It works best on lined or double-layer items such as belts.
Which buttonhole suits your fabric?
If you are making the garment as well as fixing it, the buttonhole style should match the cloth. OLFA’s tutorial describes several common settings, including these:
- Standard: light to medium weight woven fabrics.
- Key hole: heavy weight, non-stretch and firmer fabrics.
- Stretch: highly elastic jersey fabrics.
When you stitch buttonholes by machine, a guide to sewing machine needles helps you pick a needle for the fabric weight.
Frequently asked questions
What if I have no thread in the garment’s color?
Show answer
A matching shade is the first choice. In a pinch, The Art of Manliness calls black or navy thread unobjectionable, so a dark neutral will do for a quick fix (source).
Where can I find a spare button?
Show answer
Look inside the garment. According to The Art of Manliness, most shirts carry a spare set of buttons sewn on the inside of the bottom front.
Is a two-hole button sewn differently?
Show answer
Only in the marking. OLFA says to make a dash with the two-hole stitching rather than an X, then follow the same steps as for a four-hole button.
Can a sewing machine attach the button instead?
Show answer
Yes, many machines can do it, and OLFA’s tutorial still favors hand sewing for those who prefer it (source). Hand stitching needs no special setting, just the needle, thread and a steady pull.